Learn how to do front lever and back lever with perfect form, avoid common mistakes, and discover the best progressions to build elite bodyweight strength and control.
The front lever and back lever are two of the most advanced calisthenics static holds, requiring tremendous pulling strength, core stability, shoulder control, and total-body tension. Whether you are training for calisthenics, gymnastics, or elite athletic performance, mastering these skills is a major achievement.
What Are Front Levers and Back Levers?
A front lever is a static hold where your body remains parallel to the ground while hanging underneath a bar.
A back lever is a similar static hold performed while your body faces downward with the bar positioned behind you.
Both exercises demand full-body control and advanced straight-arm strength.
Levers are commonly used in:
- Advanced calisthenics training
- Gymnastics strength programs
- Static hold skill development
- Bodyweight performance training
Unlike traditional gym exercises, levers develop elite relative strength and body control.
Benefits of Front and Back Lever Training
Lever training is one of the most effective ways to build advanced bodyweight strength.
Benefits include:
- Builds elite pulling strength
- Develops exceptional core stability
- Improves shoulder and scapular control
- Enhances grip and forearm strength
- Increases body awareness and coordination
- Unlocks advanced calisthenics performance
Few exercises demonstrate upper-body mastery as effectively as levers.
Muscles Worked in Front and Back Levers
Levers activate multiple upper-body and core muscles simultaneously.
Primary Muscles
- Latissimus Dorsi (Lats)
- Core Muscles
- Shoulders (Deltoids)
Secondary Muscles
- Rhomboids
- Trapezius
- Forearms and Grip Muscles
- Chest (Pectorals)
- Glutes and Hamstrings
This makes levers some of the most demanding bodyweight exercises in calisthenics.
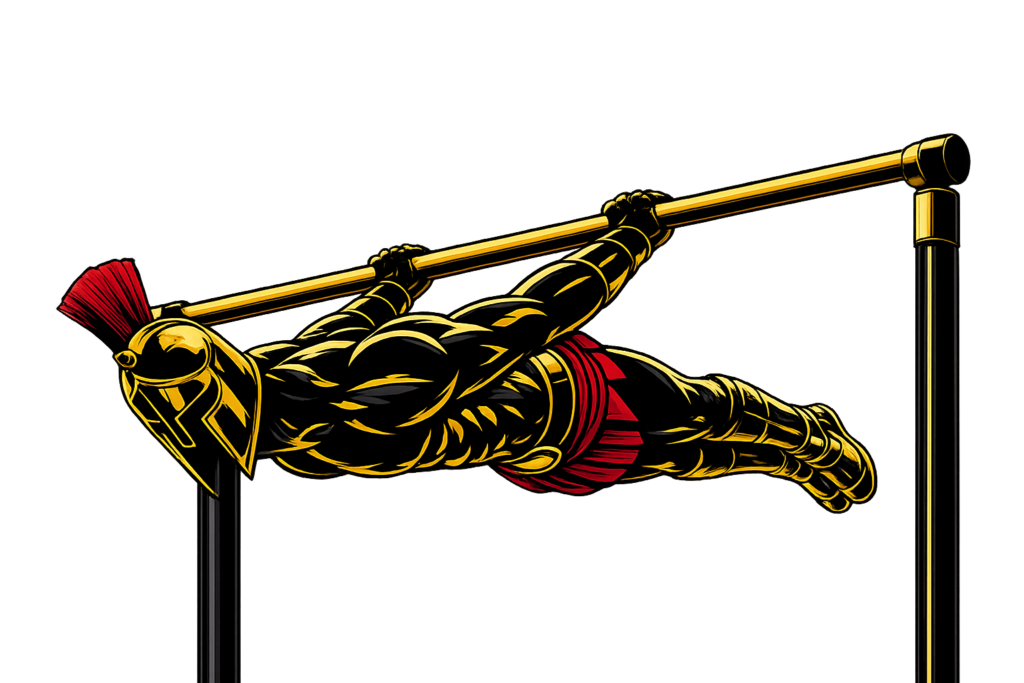
How to Do a Front Lever (Step-by-Step)
Step 1: Hang From the Bar
Grab the pull-up bar with a shoulder-width grip.
- Arms fully straight
- Core engaged
- Shoulders active
Tip: Start with a strong active hang.
Step 2: Engage Full-Body Tension
Tighten your entire body.
- Squeeze glutes
- Point toes forward
- Keep the body rigid
Step 3: Raise Your Body
Pull your body upward while leaning backward.
- Keep arms straight
- Avoid bending at the hips
Step 4: Reach Parallel Position
Lift until your body becomes parallel to the ground.
- Core tight
- Legs straight
- Shoulders depressed and stable
Step 5: Hold the Position
Maintain the front lever:
- Keep body aligned
- Breathe steadily
- Stay rigid throughout
Lower yourself slowly with control.
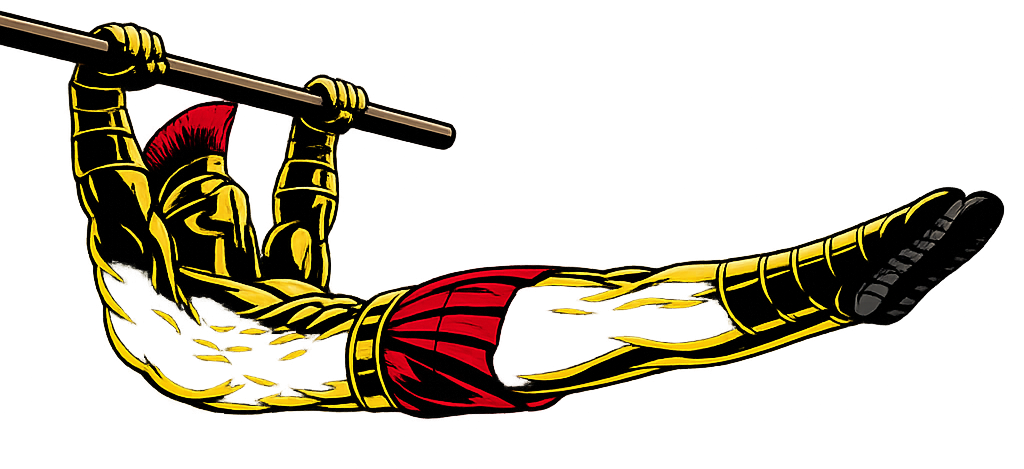
How to Do a Back Lever (Step-by-Step)
Step 1: Enter a Skin-the-Cat Position
Use rings or a pull-up bar to rotate your body backward.
- Arms straight
- Shoulders mobile and controlled
Step 2: Extend Your Body
Straighten your legs behind you.
- Keep core engaged
- Maintain full-body tension
Step 3: Lower Into Lever Position
Slowly lower your body until it is parallel to the ground.
- Keep arms locked
- Maintain shoulder stability
Step 4: Hold the Back Lever
At the hold position:
- Body straight
- Toes pointed
- Neck neutral
Step 5: Return With Control
Carefully exit the position.
Avoid dropping or rushing the movement.
Front and Back Lever Form Checklist
Use this checklist to ensure proper form:
- Keep arms straight
- Engage your core fully
- Maintain full-body tension
- Point toes and lock legs
- Control every phase of movement
Perfect form builds strength safely and efficiently.
Common Lever Mistakes
Bent Arms
Problem: Reduces straight-arm strength development.
Fix: Keep elbows locked throughout the hold.
Sagging Hips
Problem: Breaks body alignment.
Fix: Tighten core and glutes fully.
Weak Shoulder Engagement
Problem: Causes instability.
Fix: Keep shoulders active and controlled.
Holding Breath
Problem: Reduces endurance and control.
Fix: Maintain steady breathing.
Progressing Too Quickly
Problem: Increases injury risk.
Fix: Master easier progressions first.
Front and Back Lever Progressions
These progressions help beginners safely build strength.
Tuck Front Lever
The best beginner front lever progression.
How to Do Tuck Front Lever
- Pull your knees toward your chest
- Maintain straight arms
- Hold with control
Advanced Tuck Front Lever
Builds greater lever strength.
How to Do Advanced Tuck Front Lever
- Open hips slightly
- Extend the body farther
- Maintain body tension
Tuck Back Lever
A beginner-friendly back lever progression.
How to Do Tuck Back Lever
- Tuck knees toward chest
- Lower body carefully
- Maintain shoulder stability
Straddle Lever Variations
Reduce leverage difficulty while increasing progression.
How to Do Straddle Lever Variations
- Spread legs apart
- Keep the body parallel
- Maintain full-body tension
Full Front and Back Levers
The ultimate progressions.
How to Do Full Levers
- Legs fully straight together
- Body parallel to the ground
- Hold with complete control
Final Thoughts
Front levers and back levers are among the most elite calisthenics skills you can master.
They build:
- Elite pulling strength
- Straight-arm stability
- Core control
- Body awareness and coordination
- Mental discipline
Progress may take months or even years, depending on your consistency and strength level. However, every progression builds tremendous athletic ability and body control. Learn more about Calisthenics Skills here.
Focus on patience, technique, and controlled progression.
A warrior controls his body through strength — not momentum.
Lever FAQ
Q1: Are front levers harder than pull-ups?
Yes, front levers require significantly more core strength, straight-arm control, and body tension than pull-ups.
Q2: Are back levers dangerous for beginners?
Back levers can stress the shoulders if mobility and strength are lacking. Beginners should progress gradually and warm up thoroughly.
Q3: How often should I train lever progressions?
You can train lever progressions 2–5 times per week, depending on recovery and shoulder health.