Learn how to do a handstand and handstand push-up with perfect form, avoid common mistakes, and discover the best progressions to build elite upper-body strength and balance.
The handstand and handstand push-up are among the most powerful calisthenics exercises for developing shoulder strength, body control, and athletic coordination. Whether you are training for calisthenics, gymnastics, or military fitness, mastering these skills is a major milestone.
What Is a Handstand and Handstand Push-Up?
A handstand is a bodyweight balancing exercise where you support your body upside down on your hands.
A handstand push-up builds on this skill by adding a pressing movement, in which you lower your head toward the ground and push back up.
These exercises are commonly used in:
- Calisthenics training
- Gymnastics conditioning
- Bodyweight strength programs
- Advanced athletic performance training
Unlike traditional overhead pressing exercises, handstands develop balance and total-body control simultaneously.
Benefits of Handstand and Handstand Push-Ups
Handstand training is one of the best methods for developing upper-body control and strength.
Benefits include:
- Builds elite shoulder strength
- Improves balance and coordination
- Develops core stability
- Strengthens wrists and arms
- Enhances body awareness and control
- Unlocks advanced calisthenics skills
Few exercises challenge the upper body as effectively as handstand push-ups.
Muscles Worked in Handstand Push-Ups
Handstand push-ups activate multiple upper-body and core muscles.
Primary Muscles
- Shoulders (Deltoids)
- Triceps
- Upper Chest
Secondary Muscles
- Core Muscles
- Trapezius
- Forearms and Wrists
- Serratus Anterior
This makes the handstand push-up one of the best upper-body bodyweight exercises.
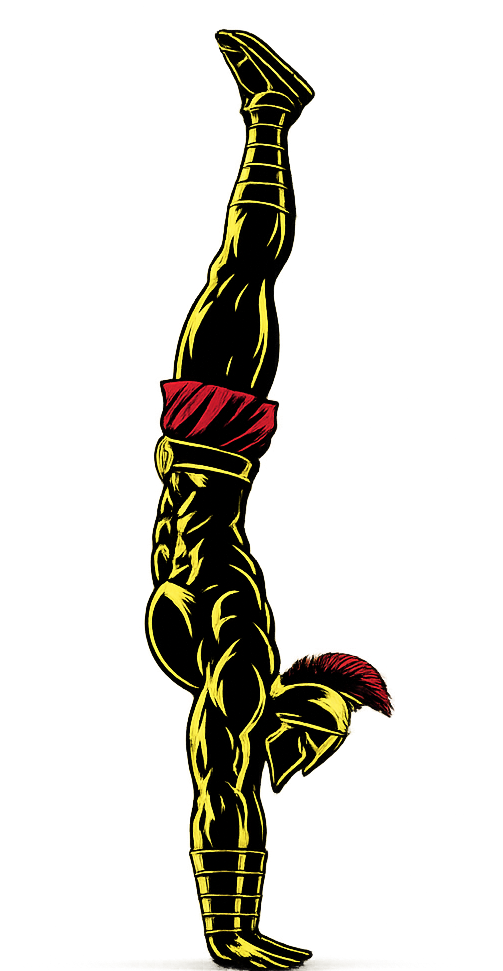
How to Do a Handstand (Step-by-Step)
Step 1: Start in a Lunge Position
Stand facing away from a wall.
- Hands shoulder-width apart
- Core engaged
- Eyes focused forward
Tip: Practice near a wall for safety and balance.
Step 2: Place Hands on the Ground
Lean forward and place your hands firmly on the floor.
- Fingers spread wide
- Arms straight
- Shoulders active
Step 3: Kick Your Legs Up
Kick one leg upward while driving the other leg to follow.
- Keep movements controlled
- Tighten your core
Step 4: Align Your Body
At the top position:
- Arms fully straight
- Body stacked vertically
- Core and glutes engaged
Step 5: Hold the Position
Maintain balance:
- Push through your hands
- Keep breathing steadily
- Stay tight and controlled
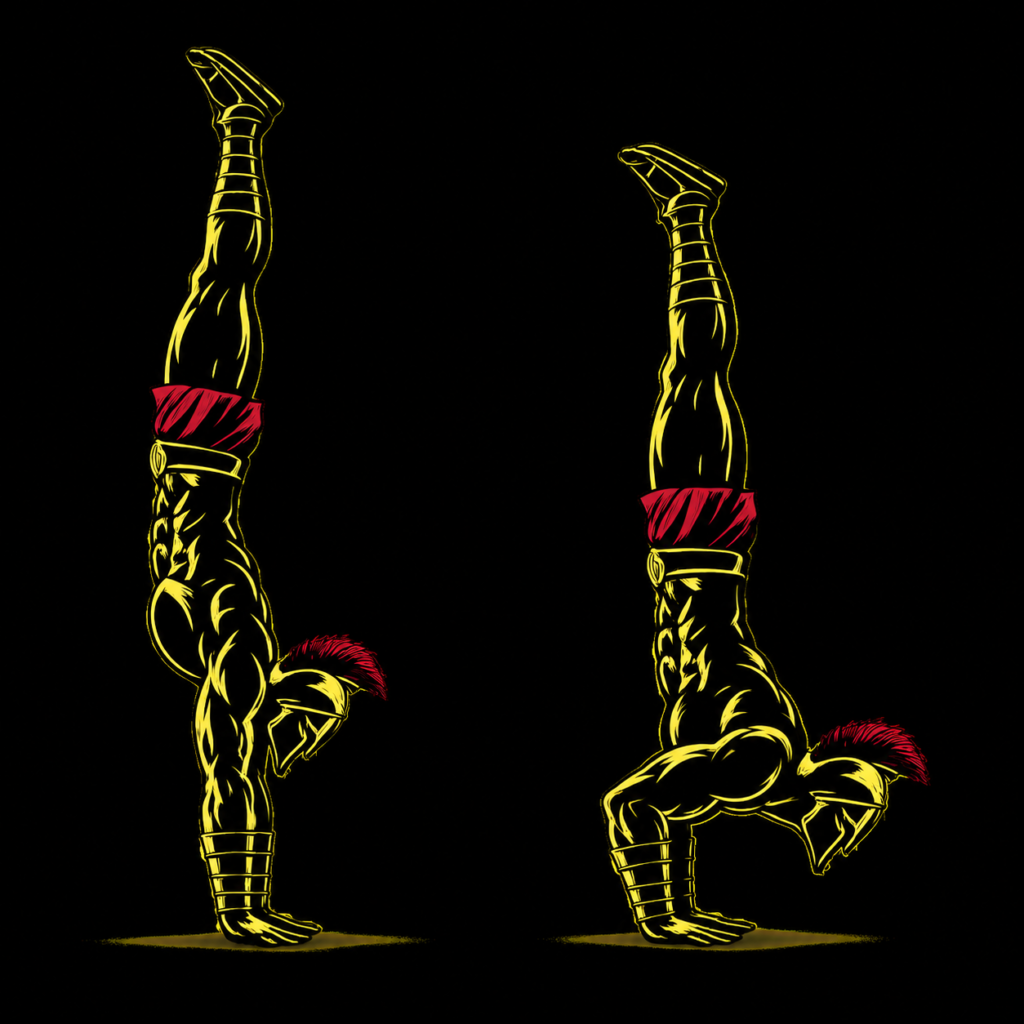
How to Do a Handstand Push-Up (Step-by-Step)
Step 1: Enter a Handstand Position
Kick into a handstand against a wall or freestanding.
- Hands shoulder-width apart
- Core tight
- Body aligned vertically
Step 2: Lower Yourself Slowly
Bend your elbows and lower your head toward the ground.
- Keep elbows controlled
- Maintain body tension
- Avoid collapsing
Step 3: Reach the Bottom Position
Lower until your head lightly touches the floor or target.
- Maintain balance
- Keep wrists stable
Step 4: Press Back Up
Push forcefully through your hands until your arms are fully extended.
- Lock out elbows at the top
- Keep core engaged
Step 5: Maintain Control
Complete each rep with smooth and controlled movement.
Avoid rushing or losing alignment.
Handstand Push-Up Form Checklist
Use this checklist to ensure proper form:
- Keep arms active and stable
- Maintain a tight core
- Control the lowering phase
- Push explosively but smoothly
- Keep your body aligned vertically
Perfect form builds strength safely and efficiently.
Common Handstand Push-Up Mistakes
Arching the Lower Back
Problem: Reduces stability and control.
Fix: Keep your core and glutes engaged.
Flaring Elbows Excessively
Problem: Places stress on the shoulders.
Fix: Keep elbows at a controlled angle.
Rushing the Descent
Problem: Reduces control and increases the risk of injury.
Fix: Lower slowly and steadily.
Weak Shoulder Position
Problem: Causes instability.
Fix: Push actively through the shoulders.
Ignoring Wrist Preparation
Problem: Can lead to discomfort or injury.
Fix: Warm up wrists thoroughly before training.
Handstand and Handstand Push-Up Progressions
These progressions help beginners safely build strength and balance.
Wall Handstand Hold
The best beginner progression.
How to Do Wall Handstand Hold
- Kick up against a wall
- Maintain body alignment
- Hold the position steadily
Pike Push-Ups
Builds pressing strength for handstand push-ups.
How to Do Pike Push-Ups
- Start in a pike position
- Lower your head toward the floor
- Push back upward
Box Handstand Push-Ups
A beginner-friendly pressing variation.
How to Do Box Handstand Push-Ups
- Place feet on a box or bench
- Perform vertical pressing movement
- Maintain control throughout
Wall Handstand Push-Ups
Builds full movement strength.
How to Do Wall Handstand Push-Ups
- Perform handstand push-ups against a wall
- Lower slowly
- Push back upward powerfully
Freestanding Handstand Push-Ups
The advanced progression.
How to Do Freestanding Handstand Push-Ups
- Balance without wall support
- Lower and press under full control
- Maintain total-body tension
Final Thoughts
The handstand and handstand push-up are among the most elite bodyweight exercises you can master.
They build:
- Shoulder strength
- Body control and balance
- Core stability
- Upper-body endurance
- Mental discipline
Progress may take time because these skills demand strength, mobility, and coordination simultaneously. However, every progression builds elite athletic ability and body control. Learn more about Calisthenics Skills here.
Focus on patience and precision.
A warrior controls every movement — even upside down.
Handstand Push-Up FAQ
Q1: Are handstand push-ups good for building shoulders?
Yes, handstand push-ups are one of the best bodyweight exercises for developing shoulder strength and size.
Q2: Should beginners practice against a wall first?
Yes, wall-supported handstands help beginners safely build balance and confidence.
Q3: How often should I train handstands?
You can practice handstands and progressions 3–5 times per week, depending on recovery and wrist health.