Learn how to do a dead hang with perfect form, avoid common mistakes, and discover the best dead hang variations to build crushing grip strength, improve shoulder mobility, and lay the foundation for pull-ups, chin-ups, and advanced calisthenics skills.
The dead hang is one of the simplest yet most effective bodyweight exercises for developing grip endurance, decompressing the spine, and strengthening the shoulders. Whether you are training for calisthenics, climbing, obstacle course racing, military fitness, or want healthier shoulders, mastering the dead hang is an essential first step.
What Is a Dead Hang?
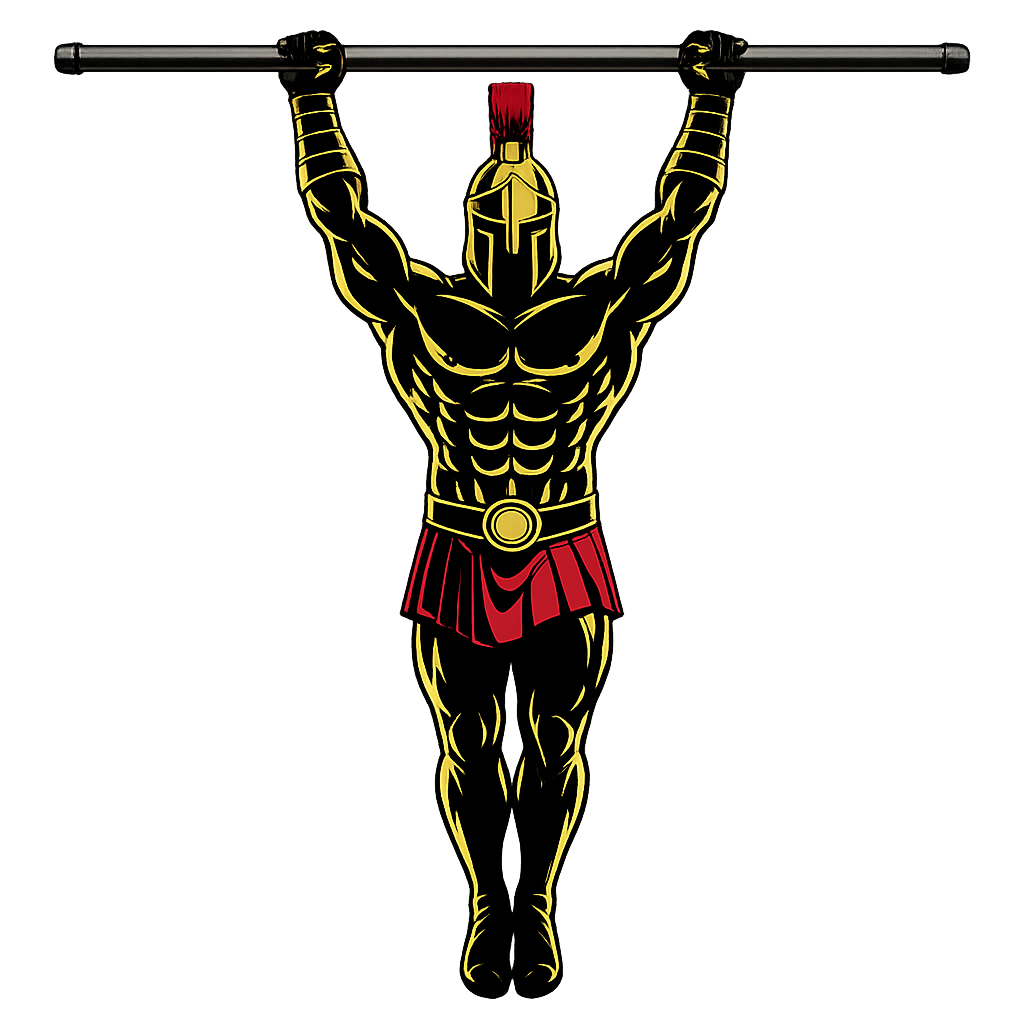
A dead hang is a bodyweight exercise where you hang freely from a pull-up bar with your arms fully extended and your body completely relaxed while maintaining a secure grip.
Unlike an active hang, a dead hang allows your shoulders to elevate naturally while your muscles remain minimally engaged. This makes it an excellent exercise for grip endurance, shoulder mobility, and spinal decompression.
Dead hangs are commonly used in:
- Calisthenics training
- Pull-up progression programs
- Climbing training
- Shoulder mobility routines
- Grip strength workouts
Although it looks simple, a properly performed dead hang provides tremendous benefits for both beginners and advanced athletes.
Benefits of Dead Hangs
Dead hangs are one of the most valuable foundational exercises you can perform.
Benefits include:
- Builds grip strength and endurance
- Improves shoulder mobility
- Decompresses the spine
- Strengthens the hands and forearms
- Improves pull-up performance
- Enhances shoulder joint stability
- Requires no equipment besides a pull-up bar
Few exercises provide as many benefits as this simple movement.
Muscles Worked in Dead Hangs
Dead hangs primarily challenge the muscles responsible for gripping and stabilizing the upper body.
Primary Muscles
- Forearm Flexors
- Hand Muscles
Secondary Muscles
- Latissimus Dorsi
- Rotator Cuff Muscles
- Trapezius
- Rhomboids
- Biceps
- Core Muscles
- Shoulder Stabilizers
Because of this muscle activation, dead hangs build the foundation needed for pull-ups, chin-ups, muscle-ups, and many other pulling exercises.
How to Do a Dead Hang (Step-by-Step)
Step 1: Grip the Pull-Up Bar
Reach overhead and grasp the pull-up bar.
Position your hands:
- Slightly wider than shoulder-width apart
- Palms facing away (overhand grip)
- Thumbs wrapped securely around the bar
Tip: Use a full grip rather than a false grip unless training for specific calisthenics skills.
Step 2: Lift Your Feet Off the Ground
Slowly lift your feet until your body hangs freely.
Maintain:
- Arms fully extended
- Legs together
- Core lightly engaged
- Neutral neck position
Allow your shoulders to rise naturally.
Step 3: Relax Into the Hang
Let your body hang comfortably.
Focus on:
- Breathing normally
- Keeping your grip firm
- Remaining relaxed
- Avoiding unnecessary swinging
Your body should remain as still as possible.
Step 4: Hold the Position
Maintain the dead hang for the desired amount of time.
Aim to:
- Keep your breathing steady
- Maintain a secure grip
- Stay relaxed throughout the hold
Avoid shrugging or actively pulling your shoulders down.
Step 5: Dismount Safely
When your grip begins to fatigue:
- Lower your feet carefully to the ground
- Release one hand at a time
- Step away from the bar
Avoid dropping directly from the bar whenever possible.
Dead Hang Form Checklist
Use this quick checklist to ensure perfect dead hang form.
- Use a full grip
- Keep your arms fully extended
- Allow your shoulders to relax naturally
- Avoid swinging
- Breathe steadily throughout the hold
Perfect form improves both grip endurance and shoulder health.
Common Dead Hang Mistakes
Holding an Active Hang Instead
Problem: Reduces spinal decompression and changes the exercise into an active shoulder hold.
Fix: Allow your shoulders to elevate naturally during a true dead hang.
Bending the Elbows
Problem: Reduces grip endurance and shifts the workload to the arms.
Fix: Keep your elbows fully extended throughout the hold.
Swinging Excessively
Problem: Reduces stability and grip training.
Fix: Keep your body still and controlled.
Holding Your Breath
Problem: Increases unnecessary tension.
Fix: Maintain slow, steady breathing throughout the exercise.
Jumping Off the Bar
Problem: May place unnecessary stress on the ankles, knees, or spine.
Fix: Lower yourself under control whenever possible.
A relaxed dead hang is far more beneficial than a tense one.
Dead Hang Variations
Once you master the basic dead hang, these variations can further improve your grip strength and pulling ability.
Active Hangs
The next progression.
How to Do Active Hangs
- Hang from the bar
- Pull your shoulder blades downward without bending your elbows
- Hold the position
This variation strengthens the muscles responsible for shoulder stability.
Single-Arm Dead Hangs
Builds exceptional grip strength.
How to Do Single-Arm Dead Hangs
- Hang using one arm
- Keep your body controlled
- Hold for the desired duration
Only attempt this variation after mastering two-arm dead hangs.
Towel Dead Hangs
Develops crushing grip strength.
How to Do Towel Dead Hangs
- Drape two towels over a pull-up bar
- Grip the towels instead of the bar
- Hang under control
This variation significantly increases grip difficulty.
Weighted Dead Hangs
An advanced progression.
How to Do Weighted Dead Hangs
- Wear a weighted vest or attach weight with a dip belt
- Perform a standard dead hang
- Maintain perfect form throughout
This variation develops elite grip endurance and pulling strength.
Final Thoughts
The dead hang is one of the most valuable foundational exercises in calisthenics and strength training.
It builds:
- Grip strength
- Forearm endurance
- Shoulder mobility
- Pull-up readiness
- Joint resilience
Although it appears simple, mastering the dead hang creates a strong foundation for nearly every upper-body pulling exercise. Consistency is far more important than hanging for extreme durations. Learn more about Pull Workouts here.
Focus on quality holds, controlled breathing, and gradual progression.
A warrior’s strength begins with an unbreakable grip.
Dead Hang FAQ
Q1: How long should beginners hold a dead hang?
Most beginners should aim for 15-30 seconds per set. As your grip strength improves, gradually increase your hold time to 60 seconds or longer.
Q2: What is the difference between a dead hang and an active hang?
A dead hang allows the shoulders to relax and elevate naturally, while an active hang involves pulling the shoulder blades down to engage the back muscles. Dead hangs primarily improve grip endurance and shoulder mobility, whereas active hangs build shoulder stability and prepare you for pull-ups.
Q3: Do dead hangs help with pull-ups?
Yes. Dead hangs strengthen your grip, improve shoulder health, and increase your ability to support your body weight on the bar, making them one of the best foundational exercises for learning pull-ups.