Learn how to do a human flag with perfect form, avoid common mistakes, and discover the best progressions to build elite upper-body strength and body control.
The human flag is one of the most impressive calisthenics skills, requiring tremendous shoulder strength, core stability, grip power, and full-body tension. Whether you are training for calisthenics, gymnastics, or advanced athletic performance, mastering the human flag is a major achievement.
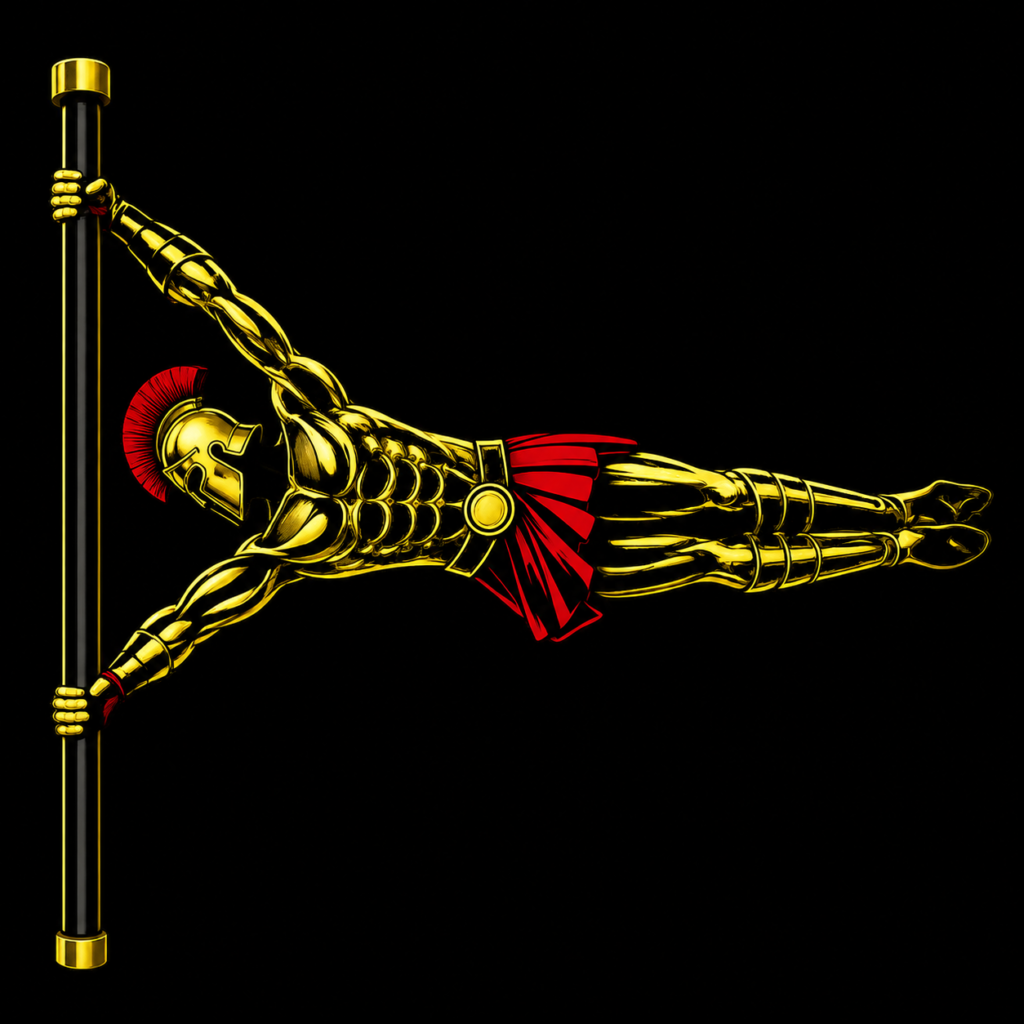
What Is a Human Flag?
A human flag is an advanced bodyweight exercise where you hold your body horizontally while gripping a vertical pole or stable structure.
This movement demands extreme lateral core strength, shoulder stability, and total-body control.
The human flag is commonly used in:
- Advanced calisthenics training
• Gymnastics conditioning
• Static hold skill development
• Bodyweight performance training
Unlike traditional gym exercises, the human flag develops elite relative strength and balance.
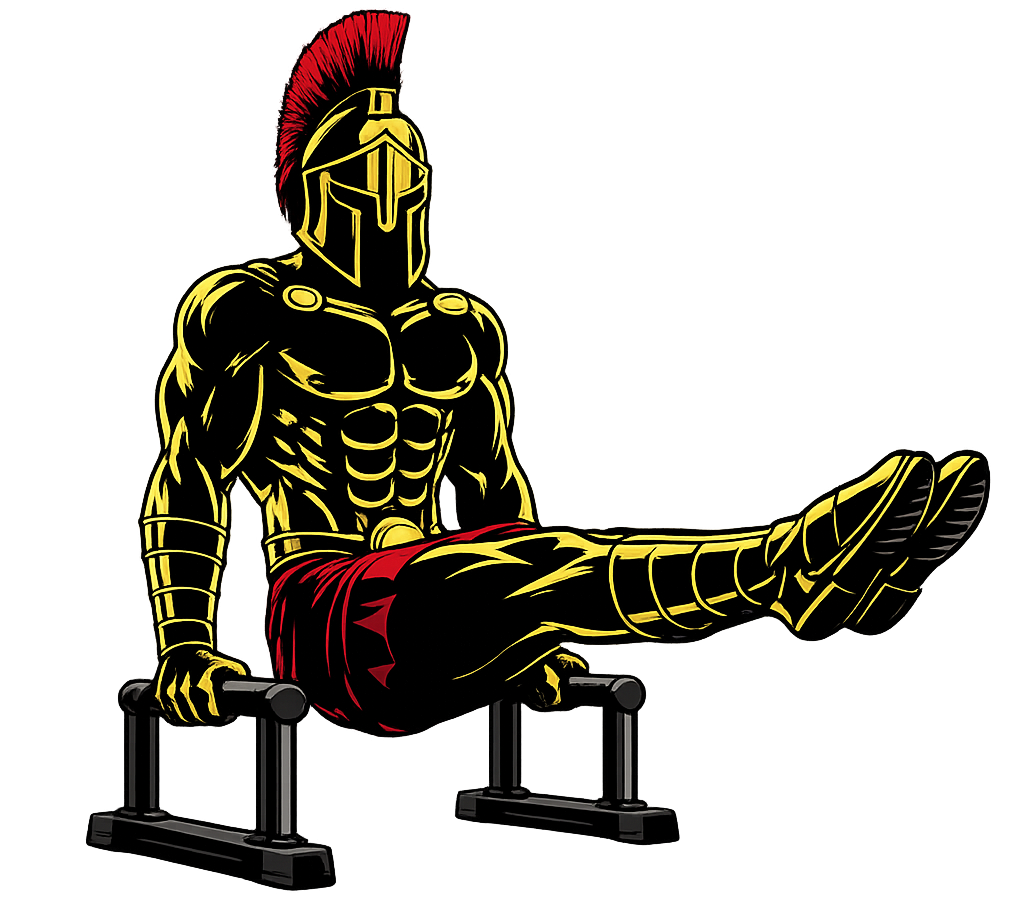
Benefits of Human Flag Training
Human flag training is one of the best methods for building advanced bodyweight strength.
Benefits include:
• Builds elite core strength
• Develops powerful shoulders and grip
• Improves body control and balance
• Enhances straight-arm stability
• Strengthens obliques and lateral core muscles
• Unlocks advanced calisthenics performance
Few exercises demonstrate total-body control as effectively as the human flag.
Muscles Worked in Human Flag
The human flag activates multiple upper-body and core muscles simultaneously.
Primary Muscles
• Obliques
• Shoulders (Deltoids)
• Latissimus Dorsi (Lats)
Secondary Muscles
• Core Muscles
• Trapezius
• Forearms and Grip Muscles
• Chest (Pectorals)
• Glutes and Hip Muscles
This makes the human flag one of the most demanding static holds in calisthenics.
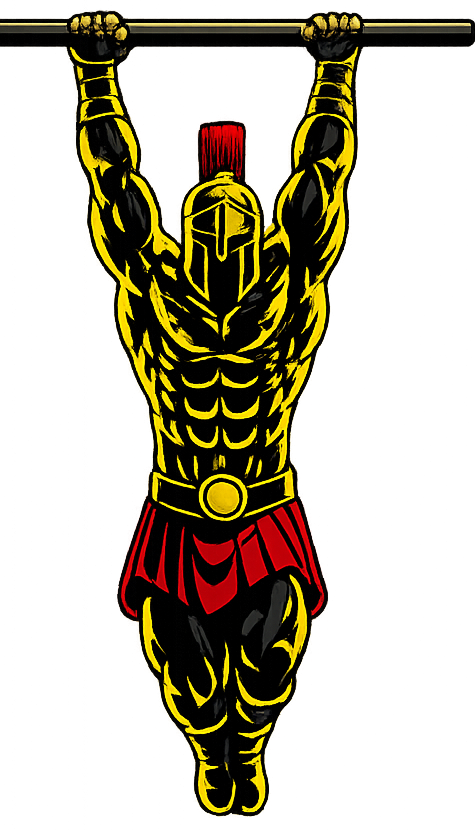
How to Do a Human Flag (Step-by-Step)
Step 1: Grip the Pole Properly
Grab a sturdy vertical pole with both hands.
• Top hand pulls inward
• Bottom hand pushes away
• Arms shoulder-width apart or wider
Tip: Use a stable pole with good grip support.
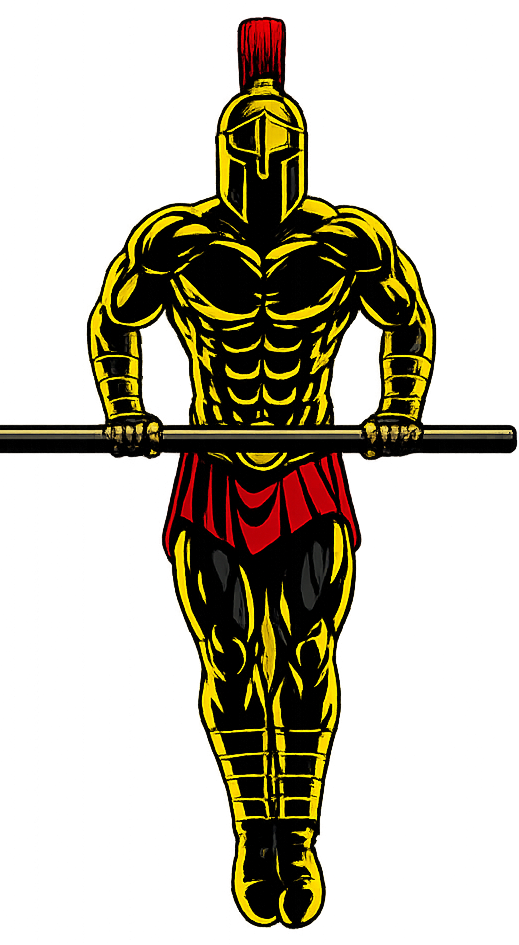
Step 2: Engage Your Upper Body
Activate your shoulders, lats, and arms before lifting.
• Lock elbows firmly
• Keep shoulders stable
• Tighten your grip
Step 3: Lift Your Legs Off the Ground
Kick or raise your legs upward carefully.
• Keep your body tight
• Engage your core fully
Step 4: Straighten Your Body
Extend your legs and align your body horizontally.
• Squeeze glutes
• Point toes
• Maintain straight body positioning
Step 5: Hold the Position
Maintain the human flag:
• Push hard with the top arm
• Pull strongly with the bottom arm
• Keep core fully engaged
Lower yourself slowly with control.
Human Flag Form Checklist
Use this checklist to ensure proper form:
Keep arms locked
Engage your entire core
Maintain straight body alignment
Push and pull actively with both arms
Keep full-body tension throughout
Perfect form builds strength safely and efficiently.
Common Human Flag Mistakes
Bent Arms
Problem: Reduces stability and strength transfer.
Fix: Keep elbows locked throughout the hold.
Sagging Hips
Problem: Breaks body alignment.
Fix: Tighten your core and glutes fully.
Weak Shoulder Engagement
Problem: Causes instability.
Fix: Actively push and pull through the shoulders.
Using Excessive Momentum
Problem: Reduces control and skill development.
Fix: Focus on controlled entries and holds.
Poor Grip Positioning
Problem: Makes balancing difficult.
Fix: Use a strong push-pull hand setup.
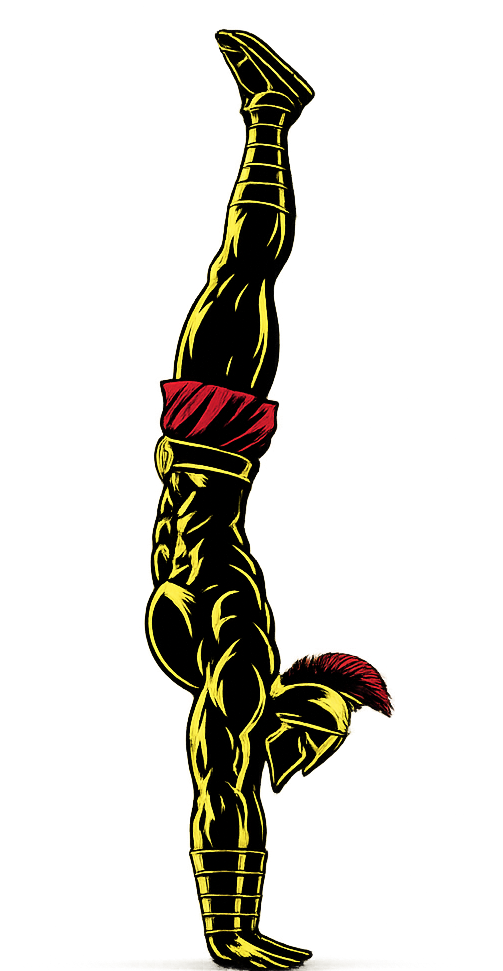
Human Flag Progressions and Variations
The full human flag is extremely advanced. These progressions help build strength safely.
Vertical Flag Hold
The best beginner progression.
How to Do Vertical Flag Hold
• Keep body angled upward
• Maintain strong arm positioning
• Hold with control
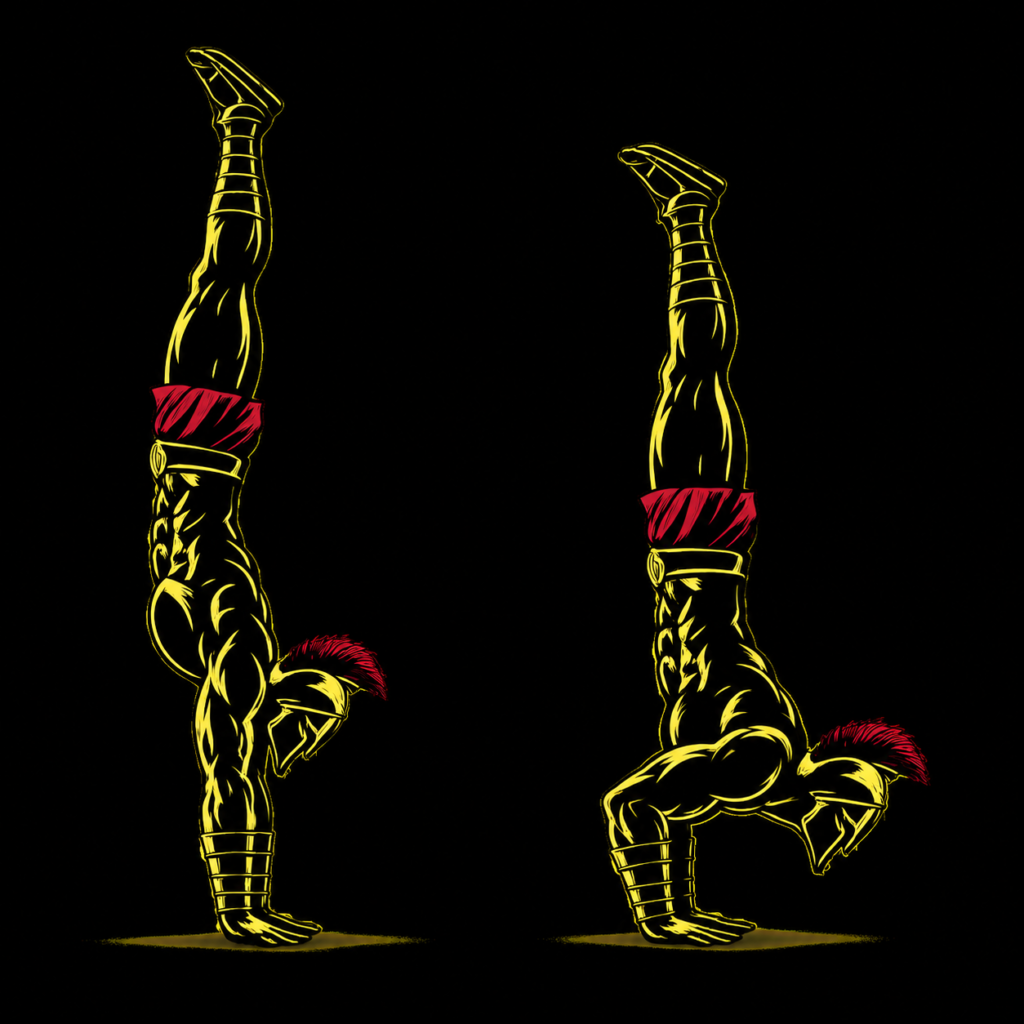
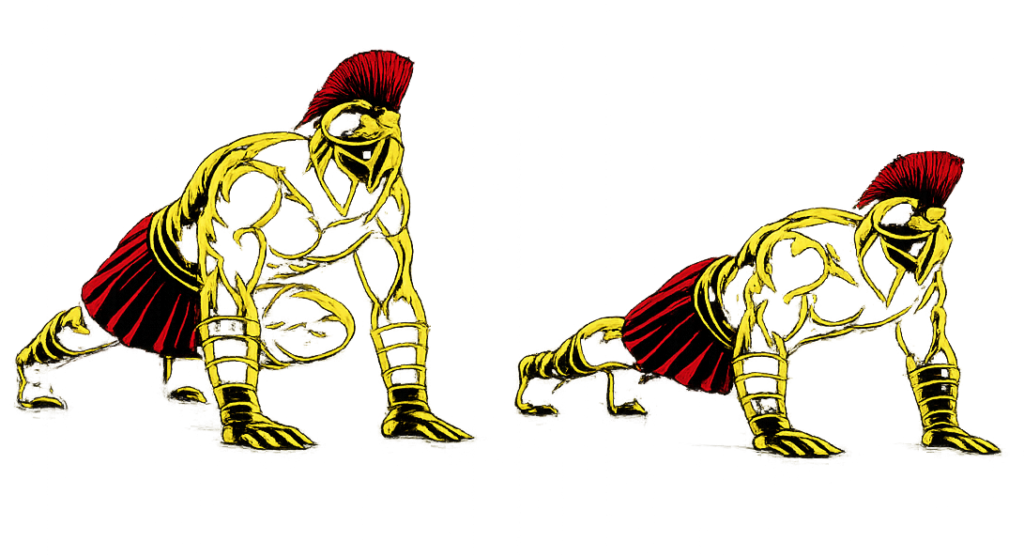
Tucked Human Flag
Reduces leverage difficulty.
How to Do Tucked Human Flag
• Pull knees toward your chest
• Keep arms locked
• Hold the position steadily
Straddle Human Flag
Improves balance while reducing resistance.
How to Do Straddle Human Flag
• Spread legs apart
• Maintain body alignment
• Engage your core fully
Human Flag Negatives
Builds strength through controlled lowering.
How to Do Human Flag Negatives
• Start near the top position
• Lower slowly with control
• Maintain tension throughout
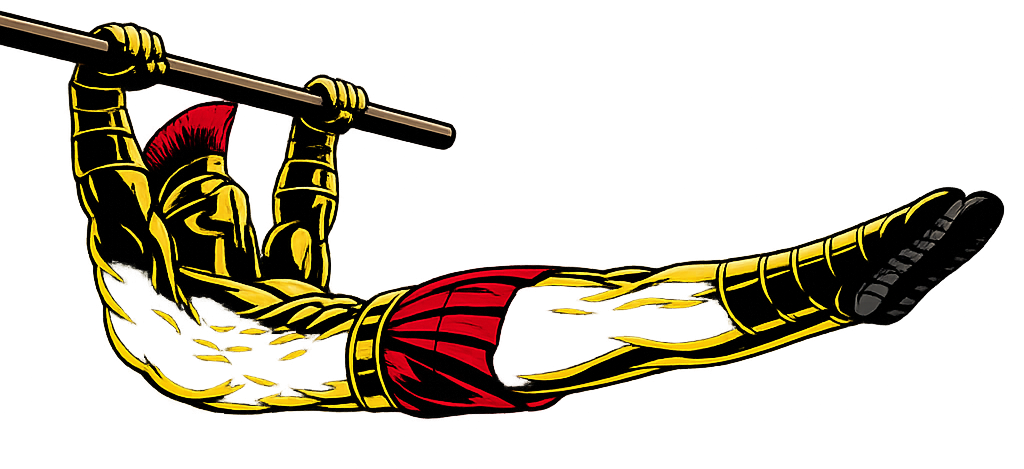
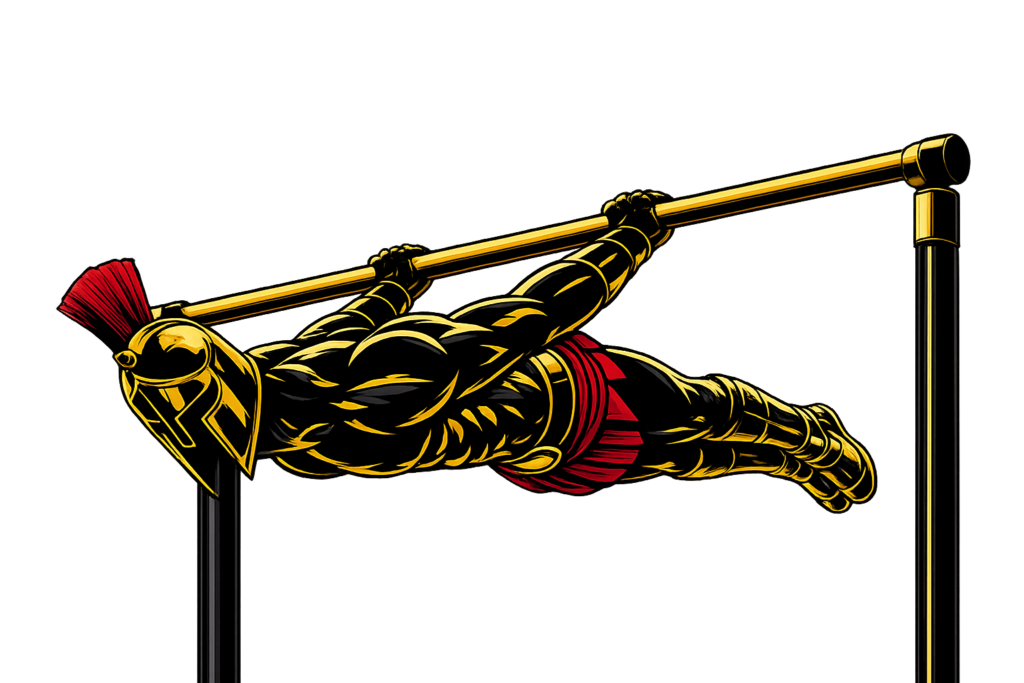
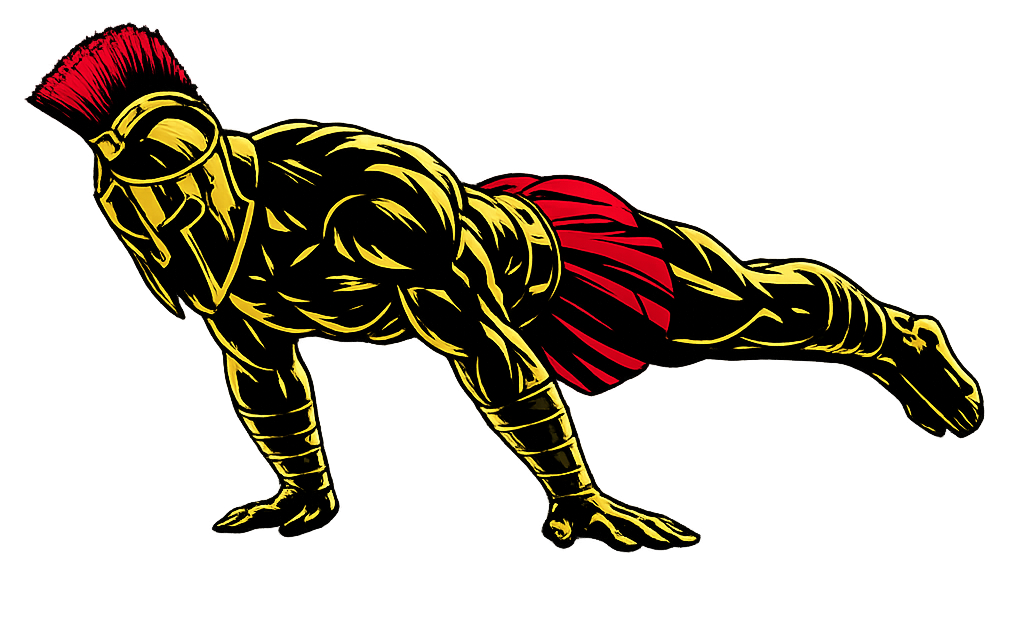
Full Human Flag
The ultimate progression.
How to Do Full Human Flag
• Keep legs fully straight together
• Hold body parallel to the ground
• Maintain complete body tension
Final Thoughts
The human flag is one of the most elite calisthenics skills you can master.
It builds:
• Elite core strength
• Shoulder and grip power
• Straight-arm stability
• Body control and coordination
• Mental discipline
Progress may take months or even years, depending on your consistency and strength level. However, every progression builds tremendous athletic ability and total-body control. Learn more about Calisthenics Skills here.
Focus on patience, tension, and clean progressions.
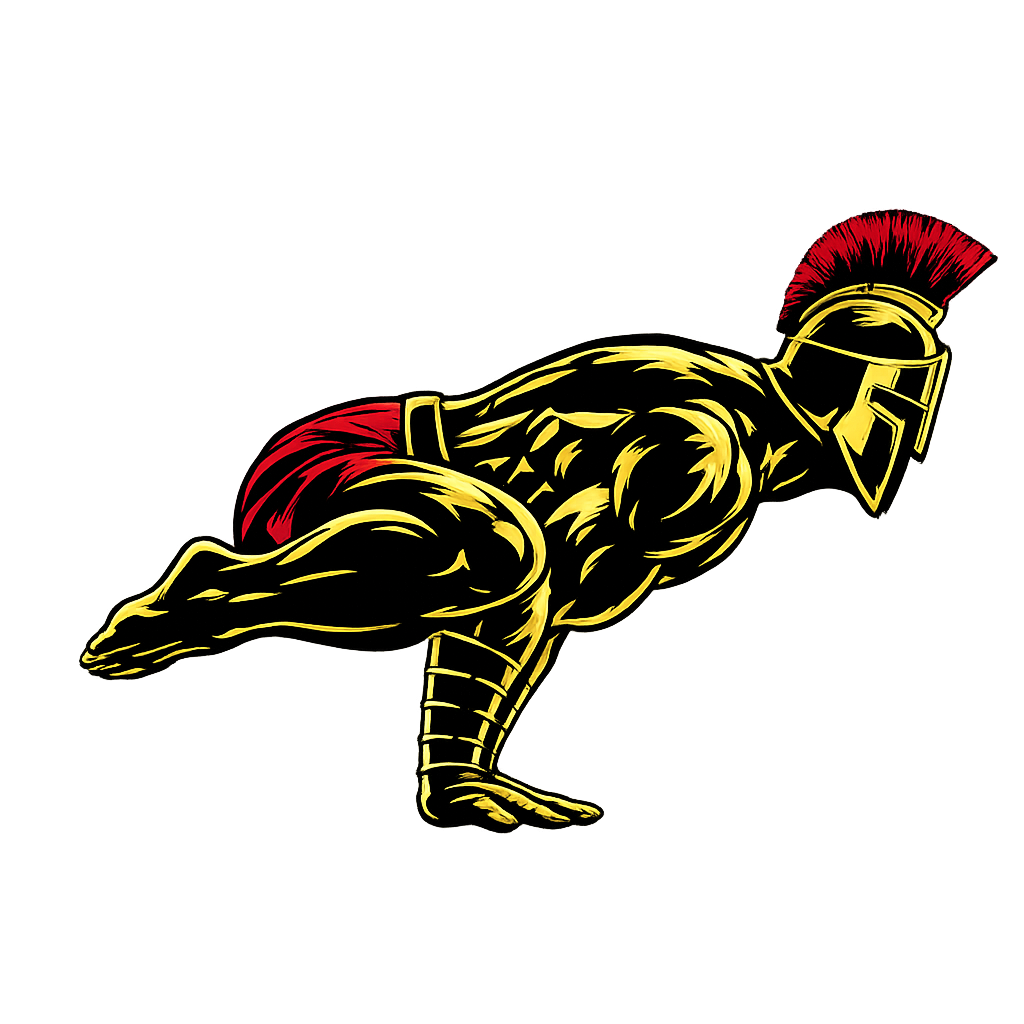
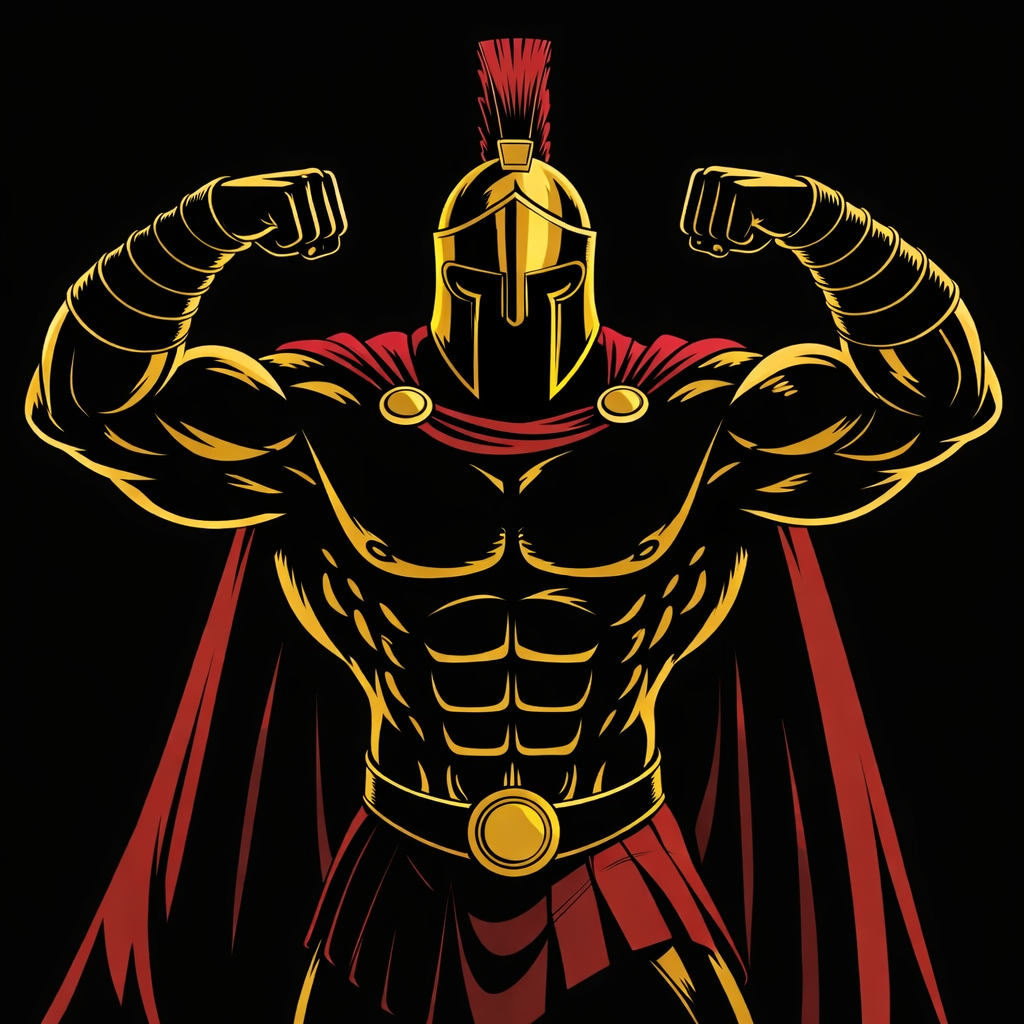
A warrior holds himself against gravity through discipline — not shortcuts.
Human Flag FAQ
Q1: Is the human flag difficult to learn?
Yes, the human flag is an advanced calisthenics skill requiring exceptional core and shoulder strength.
Q2: Should beginners start with the full human flag?
No, beginners should start with vertical holds, tucked progressions, and negatives.
Q3: How often should I train human flag progressions?
You can train human flag progressions 2–5 times per week, depending on recovery and shoulder health.