
Learn how to do rows with perfect form, avoid common mistakes, and discover the best row variations to build real upper-body strength.
Rows are one of the most effective pulling exercises for developing a strong back, improving posture, and increasing functional strength. Whether you are training for military fitness tests, calisthenics, or general fitness, mastering rows is essential.
What Are Rows?
A row is a pulling exercise where you pull a weight or your body toward your torso by driving your elbows backward and squeezing your shoulder blades together.
The row is considered one of the best upper-body exercises because it trains multiple muscles simultaneously while promoting healthy posture and balanced strength.
Rows are commonly used in:
- Strength and conditioning programs
- Bodybuilding routines
- Athletic performance training
- Rehabilitation and posture-correction programs
Unlike many pushing exercises, rows strengthen the muscles responsible for maintaining proper posture and shoulder health.
Benefits of Rows
Rows are one of the most powerful exercises for developing upper-body strength.
Benefits include:
- Builds a thicker and stronger back
- Improves posture and shoulder stability
- Increases pulling strength
- Strengthens the arms and grip
- Reduces muscular imbalances
- Supports pull-ups and other compound exercises
Few exercises challenge the upper back as effectively as rows.
Muscles Worked in Rows
Rows activate several major upper-body muscle groups simultaneously.
Primary Muscles
- Latissimus Dorsi (Lats)
- Rhomboids
- Middle Trapezius
Secondary Muscles
- Rear Deltoids
- Biceps Brachii
- Forearms and Grip Muscles
- Lower Trapezius
- Core Muscles
Because of this muscle activation, rows are one of the best exercises for developing a powerful upper back.
How to Do Rows (Step-by-Step)
Step 1: Get Into Position
Stand with:
- Feet shoulder-width apart
- Knees slightly bent
- Chest up
- Core engaged
Hinge at the hips and maintain a neutral spine.
Tip: Avoid rounding your back throughout the movement.
Step 2: Grip the Weight
Hold the dumbbells, barbell, resistance band, or other implement securely.
Focus on:
- Keeping your wrists neutral
- Maintaining a firm grip
- Allowing your arms to extend naturally
This position creates a stable foundation.
Step 3: Pull the Weight Toward Your Body
Drive your elbows backward while pulling the weight toward your lower chest or upper abdomen.
Focus on:
- Squeezing your shoulder blades together
- Keeping your elbows close to your body
- Using your back muscles instead of just your arms
Avoid shrugging your shoulders.
Step 4: Pause at the Top
At the top position:
- Elbows are behind the torso
- Shoulder blades are squeezed together
- Chest remains up
Pause briefly to maximize muscle activation.
Step 5: Lower With Control
Slowly lower the weight back to the starting position.
Avoid dropping the weight or using momentum.
The negative portion of the row builds significant strength.
Row Form Checklist
Use this quick checklist to ensure perfect row form.
- Maintain a neutral spine
- Keep your chest up
- Pull with your elbows
- Squeeze your shoulder blades together
- Lower the weight under control
Perfect form builds strength faster and prevents injury.
Common Row Mistakes
Rounding the Back
Problem: Places unnecessary stress on the spine.
Fix: Keep your chest up and maintain a neutral spine throughout the movement.
Using Momentum
Problem: Reduces back activation.
Fix: Perform each repetition under control.
Shrugging the Shoulders
Problem: Places excessive stress on the upper traps.
Fix: Keep your shoulders down and focus on squeezing the shoulder blades.
Pulling With the Arms Only
Problem: Limits back development.
Fix: Initiate each repetition by driving the elbows backward.
Lifting Too Heavy
Problem: Leads to poor technique.
Fix: Choose a weight you can control properly.
Clean reps always beat heavy weights.
Row Variations
Once you master the basic row, different variations can help build strength and target different parts of the back.
Dumbbell Rows
One of the most popular row variations.
How to Do Dumbbell Rows
- Hold a dumbbell in one hand
- Pull the weight toward your hip
- Lower slowly with control
This variation improves unilateral strength and balance.
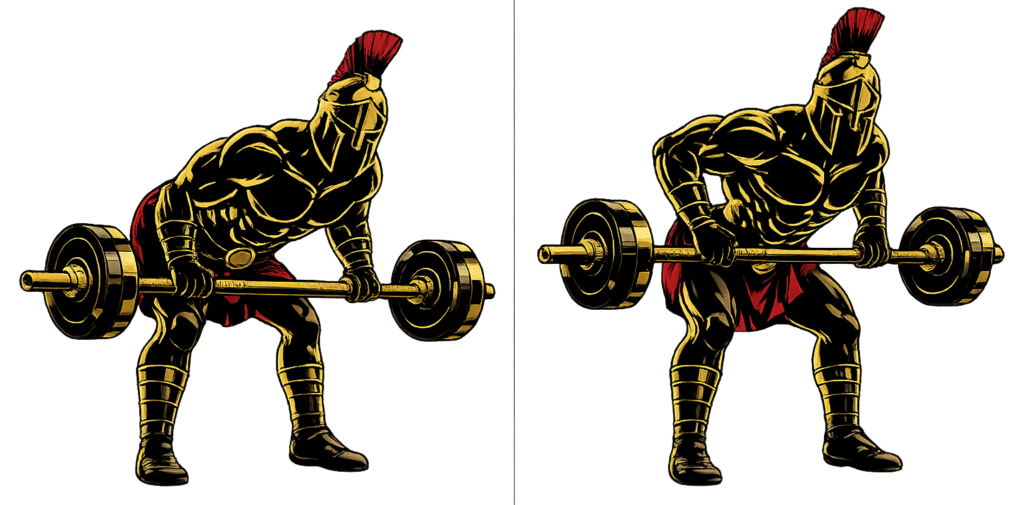
Barbell Rows
A powerful compound movement.
How to Do Barbell Rows
- Hold a barbell with both hands
- Hinge at the hips
- Pull the bar toward your torso
This variation develops total upper-body strength.
Inverted Rows
A bodyweight variation ideal for calisthenics.
How to Do Inverted Rows
- Hang beneath a bar
- Pull your chest toward the bar
- Lower yourself slowly
This variation is excellent for beginners and pull-up progression.
Resistance Band Rows
A beginner-friendly option.
How to Do Resistance Band Rows
- Anchor a resistance band securely
- Pull the handles toward your torso
- Squeeze your shoulder blades together
This variation provides constant tension throughout the movement.
Final Thoughts
The row is one of the most effective exercises you can master.
It builds:
- Back strength
- Arm strength
- Grip strength
- Shoulder stability
- Functional athletic performance
Progress may feel slow at first, especially for beginners. However, with consistent training and proper form, your pulling strength will steadily improve. Learn more about Pull Workouts here.
One perfect repetition is always better than ten sloppy ones.
Focus on quality repetitions, full range of motion, and controlled movement.
A warrior builds strength by pulling with purpose, not by chasing momentum.
Row FAQ
Q1: Are rows better than pull-ups?
Rows and pull-ups complement each other. Rows emphasize horizontal pulling, while pull-ups train vertical pulling. Together, they build a stronger and more balanced back.
Q2: How many rows should a beginner do?
Most beginners can start with 8–15 repetitions for 2–4 sets while focusing on proper form and controlled movement.
Q3: How often should I do rows?
You can train rows 2–3 times per week depending on your recovery and overall training volume.