Learn how to do the Cat-Cow stretch with perfect form, avoid common mistakes, and discover the best variations to improve spinal mobility and flexibility.
The Cat-Cow stretch is one of the most effective mobility exercises for improving spine flexibility, relieving tension, and enhancing movement control. Whether you are training for military fitness tests, calisthenics, or general fitness, mastering the Cat-Cow stretch is essential.
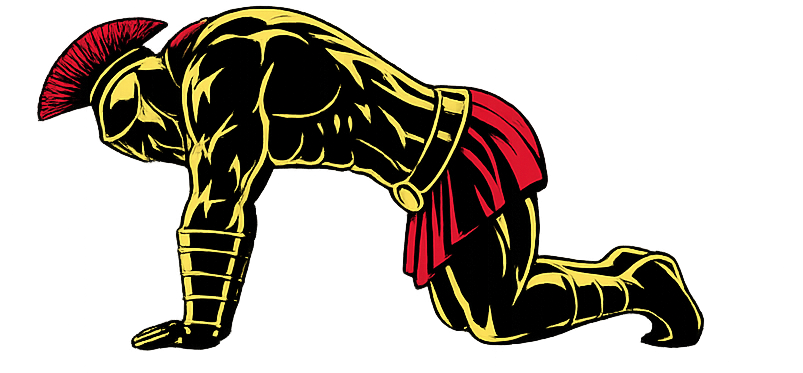
What Is the Cat-Cow Stretch?
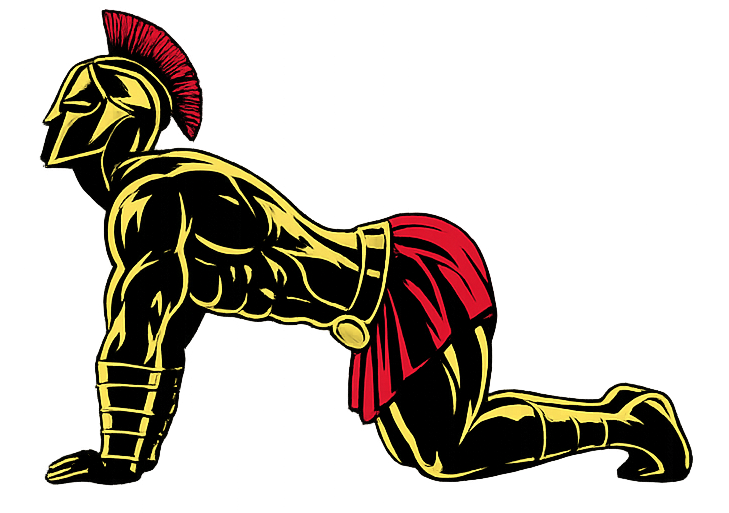
The Cat-Cow stretch is a dynamic mobility exercise performed on all fours, where you alternate between arching and rounding your back.
This movement improves spinal flexibility while coordinating breathing with motion.
The Cat-Cow stretch is commonly used in:
- Warm-up routines
- Mobility and flexibility training
- Yoga and recovery sessions
- Injury prevention programs
Unlike static stretches, Cat-Cow is a dynamic movement that promotes fluid motion in the spine.
Benefits of Cat-Cow Stretch
The Cat-Cow stretch is essential for maintaining spinal health and flexibility.
Benefits include:
• Improves spinal mobility and flexibility
• Reduces stiffness in the back and neck
• Enhances posture and alignment
• Promotes better breathing coordination
• Relieves tension in the spine
• Aids recovery and relaxation
Few exercises are as effective for spinal mobility as the Cat-Cow stretch.
Muscles Worked in Cat-Cow Stretch
The Cat-Cow stretch activates multiple muscles along the spine and core.
Primary Muscles
• Spinal Erectors
• Abdominal Muscles
Secondary Muscles
• Shoulders (Deltoids)
• Neck Muscles
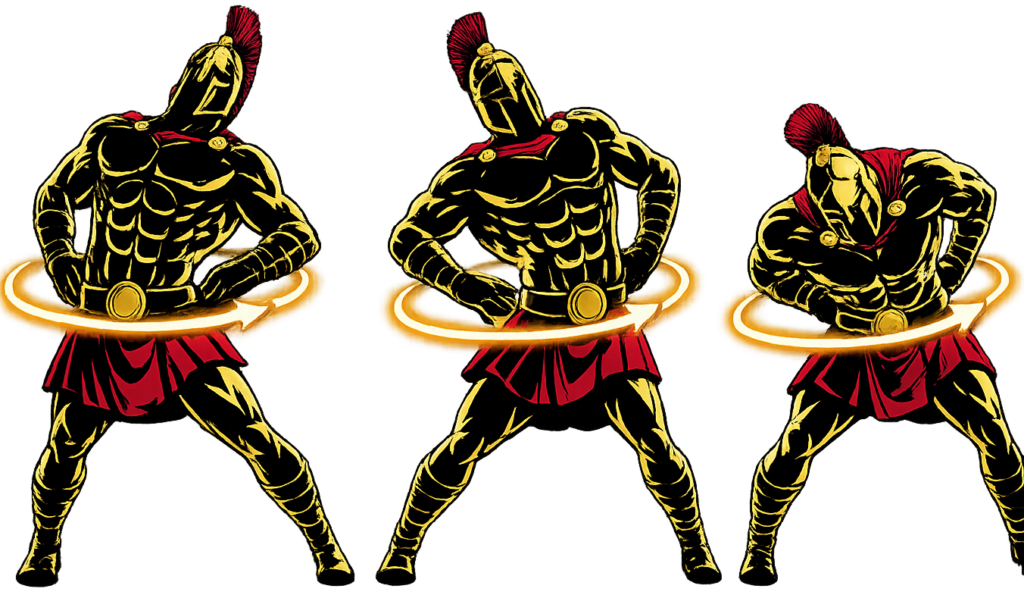
• Hip Flexors
• Glutes
This makes Cat-Cow an excellent movement for improving overall body coordination.
How to Do the Cat-Cow Stretch (Step-by-Step)
Step 1: Get Into All-Fours Position
Start on your hands and knees.
• Hands under shoulders
• Knees under hips
• Spine neutral
Tip: Keep your head in line with your spine.
Step 2: Move Into Cow Position
Inhale and drop your belly toward the ground.
• Lift your chest and tailbone upward
• Keep shoulders relaxed
• Gently look forward
Step 3: Move Into Cat Position
Exhale and round your back upward.
• Tuck your chin toward your chest
• Pull your belly button inward
• Spread your shoulder blades
Step 4: Flow Between Positions
Continue alternating between Cat and Cow positions.
• Move slowly and smoothly
• Sync your breathing with movement
Step 5: Maintain Control
Perform each repetition with control.
Avoid rushing — focus on quality movement.
Cat-Cow Stretch Form Checklist
Use this checklist to ensure proper form:
Keep movements slow and controlled
Coordinate breathing with movement
Maintain proper hand and knee placement
Avoid forcing the range of motion
Keep your core engaged
Proper form improves mobility and prevents strain.
Common Cat-Cow Stretch Mistakes
Moving Too Fast
Problem: Reduces effectiveness.
Fix: Perform slow, controlled movements.
Forcing the Range of Motion
Problem: Can cause discomfort.
Fix: Move within a comfortable range.
Poor Alignment
Problem: Reduces benefits.
Fix: Keep hands under shoulders and knees under hips.
Not Breathing Properly
Problem: Reduces coordination.
Fix: Inhale in Cow, exhale in Cat.
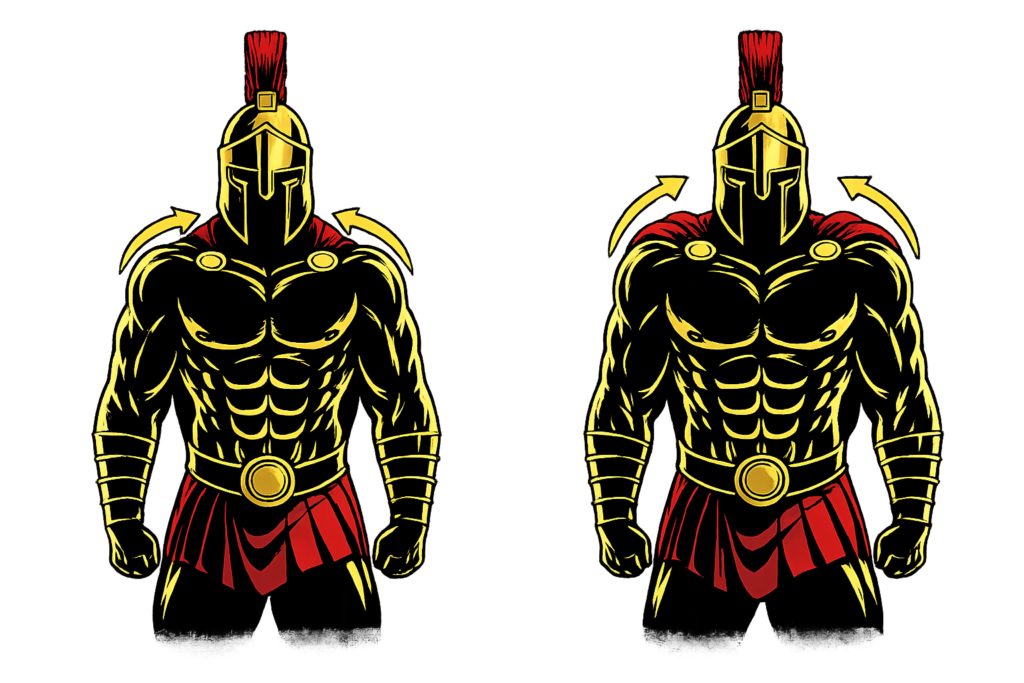
Collapsing Shoulders
Problem: Causes instability.
Fix: Keep shoulders active and stable.
Cat-Cow Stretch Variations
Once you master the basic Cat-Cow stretch, these variations can enhance mobility further.
Seated Cat-Cow Stretch
A beginner-friendly variation.
How to Do Seated Cat-Cow
• Sit upright in a chair
• Place hands on knees
• Alternate arching and rounding your back
Standing Cat-Cow Stretch
Improves accessibility.
How to Do Standing Cat-Cow
• Stand upright with hands on thighs
• Alternate spinal flexion and extension
• Move in a controlled manner
Extended Cat-Cow Stretch
Adds a greater range of motion.
How to Do Extended Cat-Cow
• Reach one arm forward during the movement
• Increase stretch intensity
• Maintain balance
Slow Tempo Cat-Cow
Focuses on control and breathing.
How to Do Slow Tempo Cat-Cow
• Hold each position for 2–3 seconds
• Emphasize breathing
• Move with precision
Final Thoughts
The Cat-Cow stretch is one of the most effective mobility exercises you can master.
It improves:
• Spinal flexibility
• Posture
• Movement coordination
• Recovery
• Overall mobility
Progress may feel subtle at first, but consistent practice will greatly improve how your body moves and feels. Learn more about Stretching Here.
Focus on control and breathing.
A warrior moves with fluidity — not stiffness.
Cat-Cow Stretch FAQ
Q1: How many reps should I do for the Cat-Cow stretch?
Beginners can perform 8–12 slow repetitions per set.
Q2: When should I do the Cat-Cow stretch?
It is ideal for warm-ups, mobility sessions, or recovery routines.
Q3: Can Cat-Cow reduce back pain?
Yes, it can help relieve tension and improve spinal mobility, which may reduce discomfort.