
Learn how to do glute bridges with perfect form, avoid common mistakes, and discover the best variations to build real lower-body strength.
Glute bridges are one of the most effective bodyweight exercises for developing strong glutes, improving hip stability, and enhancing athletic performance. Whether you are training for military fitness tests, sports performance, or general fitness, mastering the glute bridge is essential.
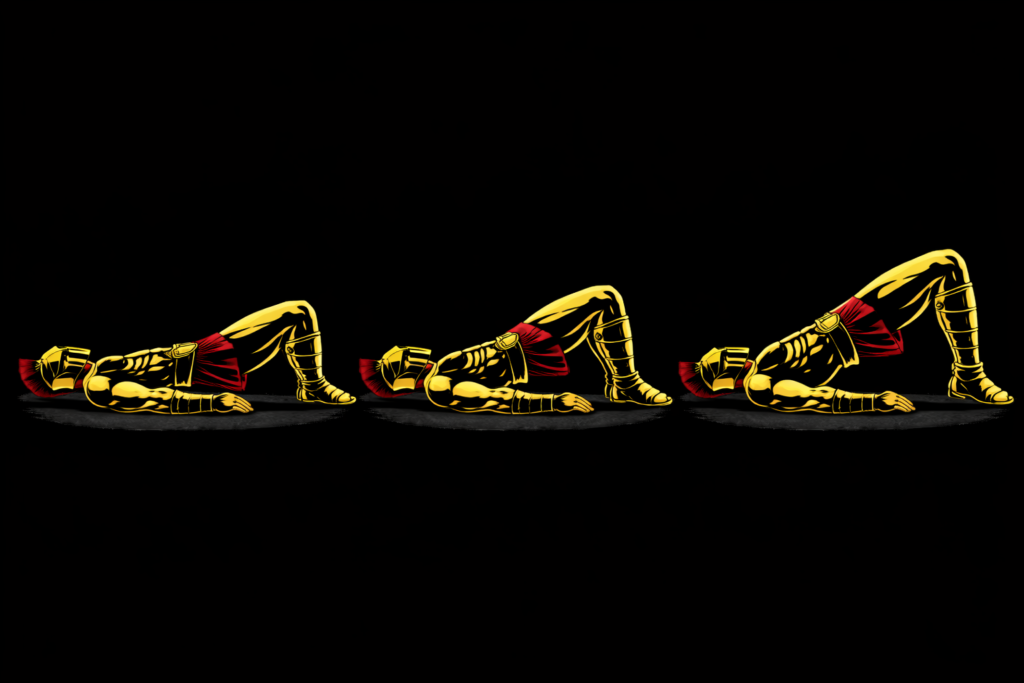
What Is a Glute Bridge?
A glute bridge is a bodyweight exercise where you lie on your back and raise your hips toward the ceiling by driving through your heels.
The glute bridge is considered one of the best exercises for activating and strengthening the glutes while improving hip mobility and core stability.
Glute bridges are commonly used in:
- Strength and conditioning programs
- Athletic performance training
- Rehabilitation programs
- General fitness routines
Unlike many machine exercises, glute bridges build functional strength that transfers directly to sports and everyday activities.
Benefits of Glute Bridges
Glute bridges are one of the most powerful exercises for developing lower-body strength.
Benefits include:
- Builds strong glutes and hamstrings
- Improves hip stability and mobility
- Strengthens the core and lower back
- Enhances athletic performance
- Helps improve posture
- Reduces the effects of prolonged sitting
Few exercises activate the glutes as effectively as the glute bridge.
Muscles Worked in Glute Bridges
Glute bridges activate several major muscle groups simultaneously.
Primary Muscles
- Glutes (Gluteus Maximus)
- Hamstrings
Secondary Muscles
- Core Muscles (Abdominals and Obliques)
- Lower Back (Erector Spinae)
- Hip Stabilizers
- Calves
Because of this muscle activation, glute bridges are one of the best exercises for developing posterior chain strength.
How to Do Glute Bridges (Step-by-Step)
Step 1: Lie Flat on Your Back
Begin by lying on the floor with:
- Knees bent
- Feet flat on the ground
- Arms resting by your sides
Tip: Position your feet about hip-width apart.
Step 2: Set Your Starting Position
Before lifting:
- Engage your core
- Keep your head and shoulders relaxed
- Place your heels close enough that you can almost touch them with your fingertips
This creates a stable foundation.
Step 3: Drive Through Your Heels
Push through your heels and raise your hips toward the ceiling.
Focus on:
- Squeezing your glutes
- Keeping your core tight
- Avoiding excessive arching of the lower back
Step 4: Reach the Top Position
At the top:
- Your body forms a straight line from shoulders to knees
- Glutes are fully contracted
- Core remains engaged
Pause briefly while maintaining control.
Step 5: Lower Yourself Slowly
Lower your hips back to the starting position under control.
Avoid dropping quickly.
Repeat for the desired number of repetitions.
Glute Bridge Form Checklist
Use this quick checklist to ensure perfect glute bridge form.
- Keep your feet flat on the floor
- Drive through your heels
- Squeeze your glutes at the top
- Maintain a tight core
- Lower with control
Perfect form builds strength faster and prevents injury.
Common Glute Bridge Mistakes
Overarching the Lower Back
Problem: Places unnecessary stress on the spine.
Fix: Focus on squeezing the glutes instead of arching your back.
Pushing Through the Toes
Problem: Reduces glute activation.
Fix: Drive through your heels throughout the movement.
Feet Too Far From the Body
Problem: Increases hamstring involvement and reduces efficiency.
Fix: Position your heels closer to your hips.
Rushing the Movement
Problem: Reduces muscle activation.
Fix: Use a controlled tempo and pause briefly at the top.
Failing to Engage the Core
Problem: Causes instability and poor posture.
Fix: Tighten your abs before each repetition.
Clean reps always beat fast reps.
Glute Bridge Variations
Once you master the basic glute bridge, different variations can help build strength and increase difficulty.
Single-Leg Glute Bridges
Improves unilateral strength and balance.
How to Do Single-Leg Glute Bridges
- Extend one leg straight
- Drive through the opposite heel
- Raise your hips and lower with control
This variation challenges each side individually.
Elevated Glute Bridges
Increases range of motion.
How to Do Elevated Glute Bridges
- Place your feet on a bench or elevated surface
- Raise your hips toward the ceiling
- Lower slowly under control
This variation places greater emphasis on the glutes.
Weighted Glute Bridges
Adds resistance for increased strength gains.
How to Do Weighted Glute Bridges
- Place a weight across your hips
- Perform the movement normally
- Maintain perfect form throughout
This variation is excellent for building stronger glutes.
Hip Thrusts
A more advanced progression.
How to Do Hip Thrusts
- Place your upper back on a bench
- Drive through your heels
- Raise your hips until your body forms a straight line
Hip thrusts are one of the best exercises for maximizing glute development.
Final Thoughts
The glute bridge is one of the most powerful exercises you can master for developing posterior chain strength.
It builds:
- Strong glutes
- Powerful hamstrings
- Core stability
- Hip mobility
- Functional athletic performance
Progress may feel slow at first, especially if your glutes are weak from prolonged sitting. However, with consistent training and proper form, your strength and stability will steadily improve. Learn more about Leg Workouts here.
One controlled rep is always better than several sloppy ones.
Focus on quality repetitions, full range of motion, and controlled movement.
A warrior’s power begins at the hips.
Glute Bridge FAQ
Q1: Are glute bridges good for beginners?
Yes. Glute bridges are beginner-friendly and highly effective for strengthening the glutes and improving hip stability.
Q2: How many glute bridges should a beginner do?
Most beginners can start with 10–20 repetitions per set while focusing on proper form and glute activation.
Q3: How often should I do glute bridges?
You can train glute bridges 2–5 times per week depending on your recovery and overall training volume.