An Advanced At-Home PPL Workout Plan is designed for experienced trainees who want to push their limits and continue building strength, muscle, and endurance without relying on a gym. By using a Push Pull Legs (PPL) split, you can train each muscle group intensely while allowing adequate recovery between sessions.
This program incorporates challenging bodyweight movements, resistance training, core finishers, and mobility work to help maximize performance and progression. Click on any exercise to know How to do it.
Benefits of an Advanced At-Home PPL Plan
- Increased strength and muscle development
- Balanced full-body training
- Higher training intensity without gym equipment
- Improved endurance and mobility
- Efficient training structure for experienced athletes
What Is a PPL Training Split?
PPL stands for Push, Pull, and Legs, which separates training by movement patterns and muscle groups:
- Push Day – Chest, shoulders, triceps
- Pull Day – Back, biceps
- Leg Day – Quads, hamstrings, glutes, calves
This structure allows advanced athletes to train with higher volume and intensity while maintaining recovery.
Equipment Needed
Although this is an at-home program, a few simple tools will help increase exercise variety and intensity.
- Pull-up bar
- Resistance bands
- Weighted backpack or weight vest
- Dip Bars or a Sturdy chair/bench
- Exercise mat
These minimal tools allow you to perform a full-body advanced training program at home.
Weekly Training Structure
Option 1 – 3 Day Advanced Split
- Monday – Push
- Wednesday – Pull
- Friday – Legs
Option 2 – 6 Day Advanced Split
- Monday – Push
- Tuesday – Pull
- Wednesday – Legs
- Thursday – Push
- Friday – Pull
- Saturday – Legs
- Sunday – Rest
The 6-day split is ideal for advanced trainees who want higher training frequency.
Pre-Workout Stretch & Mobility Routine
Perform this 5–8 minute warm-up before every workout to prepare your joints and muscles.
- Jumping Jacks – 2 sets × 30 seconds
- Arm Circles – 2 sets × 20 reps
- Hip Openers – 2 sets × 15 reps
- Bodyweight Squats – 2 sets × 15 reps
- Shoulder Mobility Stretch – 30 seconds
- Dynamic Lunges– 10 reps per leg
This routine improves blood flow, mobility, and injury prevention.
Push Day Workout (Chest, Shoulders, Triceps)
Main Workout
- Decline Push-Ups – 4 sets × 12–15 reps
- Pike Push-Ups – 4 sets × 10–12 reps
- Weighted Push-Ups (Backpack) – 4 sets × 8–12 reps
- Dips – 4 sets × 12–15 reps
- Resistance Band Shoulder Press – 3 sets × 12–15 reps
Rest 60–90 seconds between sets.
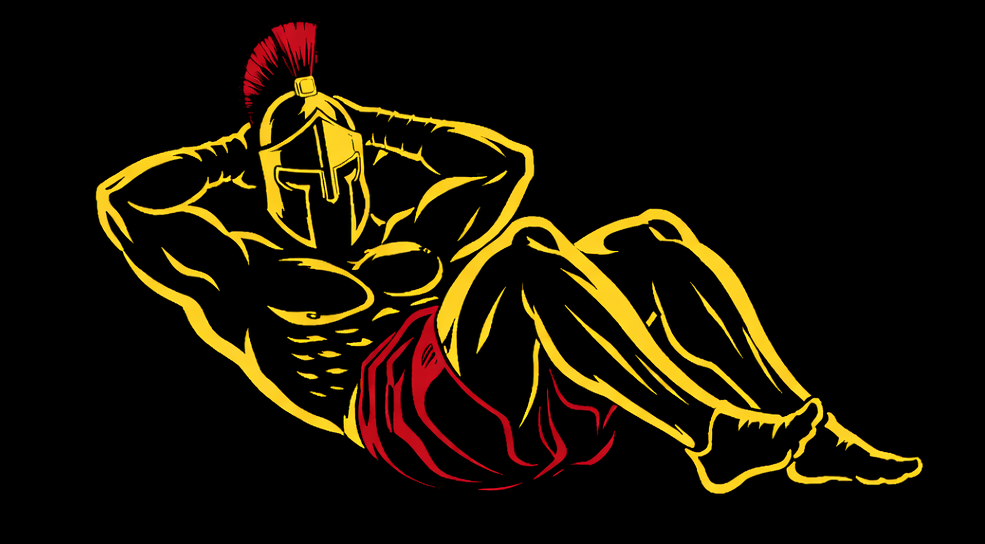
Core Finisher
- Plank Hold – 3 sets × 45–60 seconds
- Bicycle Crunches – 3 sets × 25 reps
- Lying Leg Raises– 3 sets × 15 reps
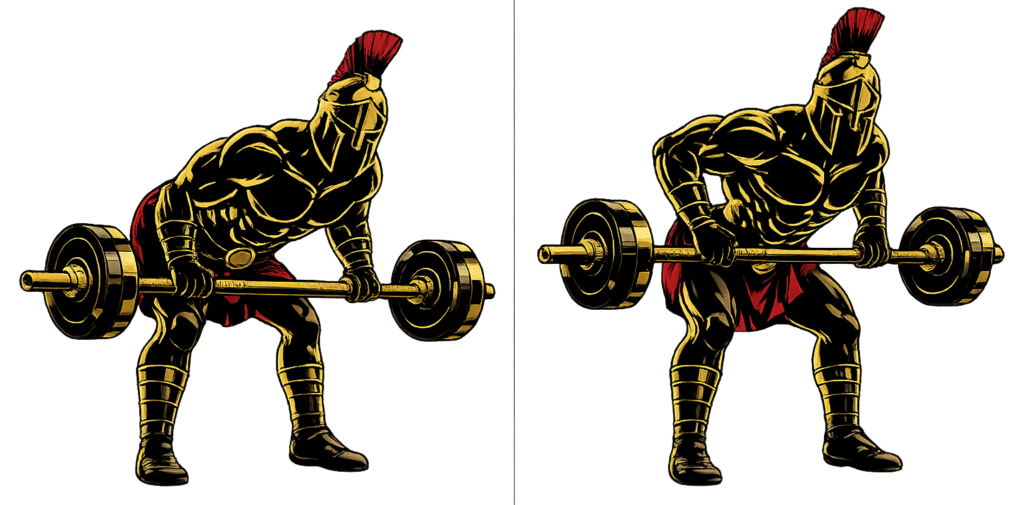
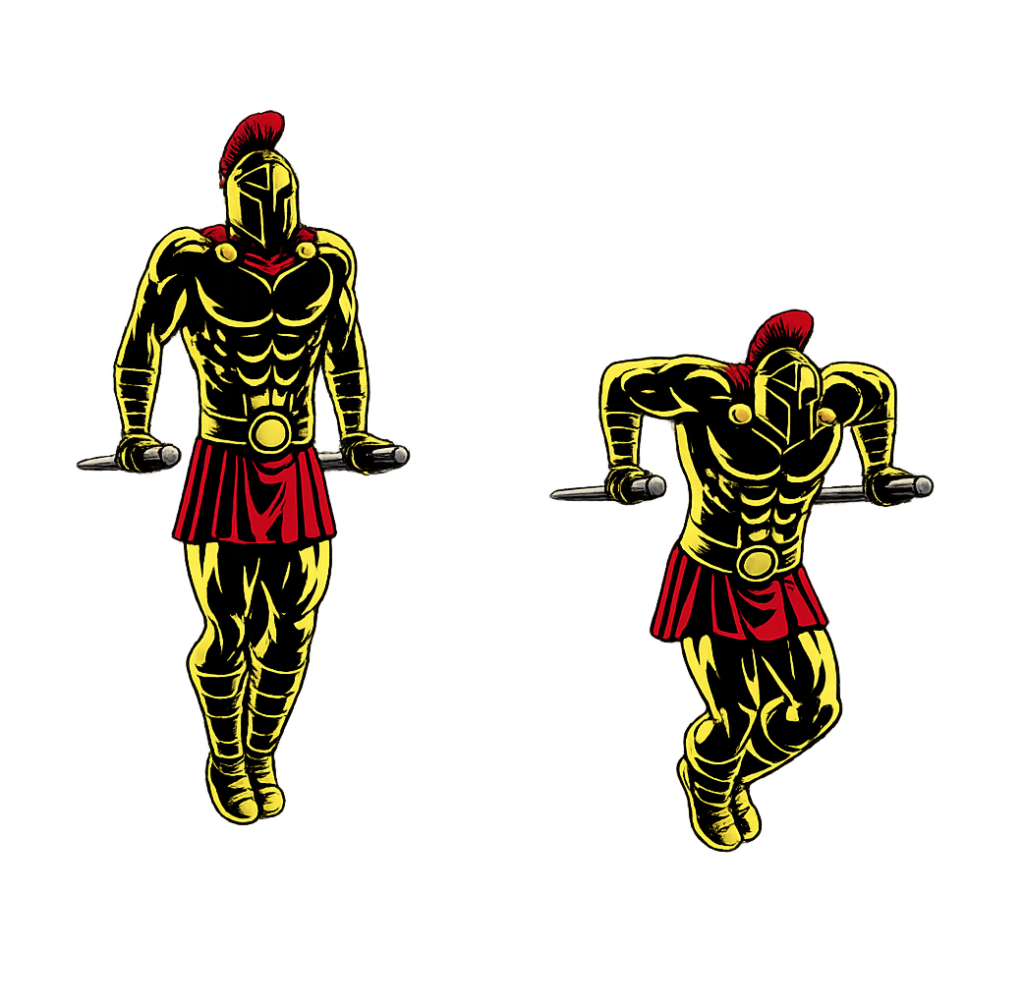
Pull Day Workout (Back, Biceps)
Main Workout
- Pull-Ups – 4 sets × 8–12 reps
- Chin-Ups– 3 sets × 8–10 reps
- Inverted Rows– 3 sets × 12 reps
- Resistance Band Rows– 3 sets × 12–15 reps
- Resistance Band Bicep Curls – 3 sets × 12–15 reps
Rest 60–90 seconds between sets.
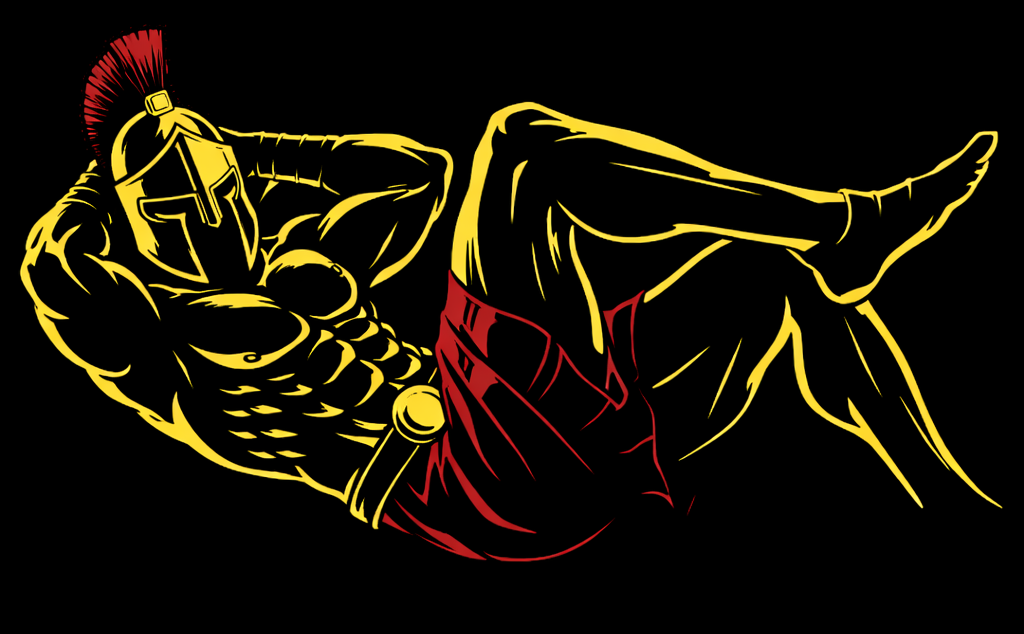
Core Finisher
- Hanging Knee Raises – 3 sets × 15 reps
- Russian Twists – 3 sets × 25 reps
- Mountain Climbers – 3 sets × 40 seconds
Legs Day Workout (Lower Body)
Main Workout
- Bulgarian Split Squats – 4 sets × 10–12 reps each leg
- Jump Squats – 3 sets × 12 reps
- Walking Lunges– 3 sets × 12 reps each leg
- Glute Bridges – 3 sets × 15 reps
- Standing Calf Raises – 4 sets × 20 reps
Rest 60–90 seconds between sets.
Core Finisher
- Flutter Kicks – 3 sets × 30 reps
- Reverse Crunches – 3 sets × 15 reps
- Side Plank – 3 sets × 40 seconds each side
Post-Workout Stretch Routine
Stretching after workouts improves flexibility, mobility, and recovery.
Perform each stretch for 30 seconds.
- Chest Stretch
- Shoulder Stretch
- Hamstring Stretch
- Hip Flexor Stretch
- Calf Stretch
- Cat-Cow Spine Stretch
This helps reduce stiffness and promote faster muscle recovery.
Tips for Advanced Trainees
- Progressively increase reps, sets, or resistance
- Add weighted backpacks or resistance bands to increase difficulty
- Maintain strict form to avoid injury
- Prioritize nutrition, hydration, and sleep
- Track your progress weekly
Final Thoughts
An Advanced At-Home PPL Workout Plan allows experienced athletes to continue progressing even without access to a gym. By combining challenging bodyweight movements, resistance exercises, structured core training, and proper mobility work, this program provides everything needed to build strength, muscle, and endurance.
Consistency, progressive overload, and proper recovery are the keys to success. Stay disciplined, train with intensity, and keep pushing your limits.