Starting your military fitness journey can feel overwhelming, especially if you are new to training or returning after a long break. This Beginner Army Fitness Test Preparation Plan is designed to help build the foundational strength, endurance, stamina, and discipline needed for military-style fitness tests worldwide.
This program focuses on gradual progression using bodyweight exercises, running improvement, core training, and mobility work to safely prepare beginners for the physical demands of Army fitness assessments.
Whether your goal is military preparation, police testing, tactical fitness, or simply building a stronger body and mindset, this plan provides a realistic starting point.
Click on any exercise to know How to do it.
What Is an Army Fitness Test Preparation Program?
An Army Fitness Preparation Program is designed to improve the physical abilities commonly tested in military fitness assessments worldwide, including:
- Push-ups
- Running endurance
- Core strength
- Pulling strength
- Lower-body endurance
- Stamina and conditioning
This beginner-friendly version focuses on safe progression and consistency instead of extreme intensity.
Benefits of a Beginner Army Fitness Preparation Plan
- Builds foundational strength and endurance
- Improves cardiovascular fitness
- Increases push-up and core performance
- Helps beginners lose fat and improve conditioning
- Enhances mobility and flexibility
- Develops discipline and consistency
- Prepares the body for advanced military-style training
Equipment Needed
This is an at-home bodyweight-focused program requiring minimal equipment. (Click on the links to go to the recommended articles)
- Exercise mat
- Pull-up bar (optional but recommended)
- Resistance bands (optional)
- Open space for running or jogging
- Weighted backpack (optional for progression)
No gym membership is required.
Weekly Training Structure
Option 1 – 3 Day Beginner Split
- Monday – Upper Body + Core
- Wednesday – Lower Body + Running
- Friday – Full Body Conditioning
Option 2 – 4 Day Beginner Split
- Monday – Upper Body
- Tuesday – Walking/Jogging
- Thursday – Lower Body + Core
- Saturday – Conditioning + Endurance
This structure allows proper recovery while gradually improving overall fitness.
Pre-Workout Stretch & Warm-Up Routine
Perform this warm-up before every workout (5–8 minutes).
- Jumping Jacks– 2 sets × 20 seconds
- Arm Circles – 15 reps forward/backward
- Bodyweight Squats – 15 reps
- Hip Openers – 10 reps each side
- High Knees– 20 seconds
- Dynamic Lunges – 8 reps each leg
- Light Jog or March in Place – 2 minutes
This warm-up improves blood flow, mobility, and injury prevention.
Monday – Upper Body + Core
Main Workout
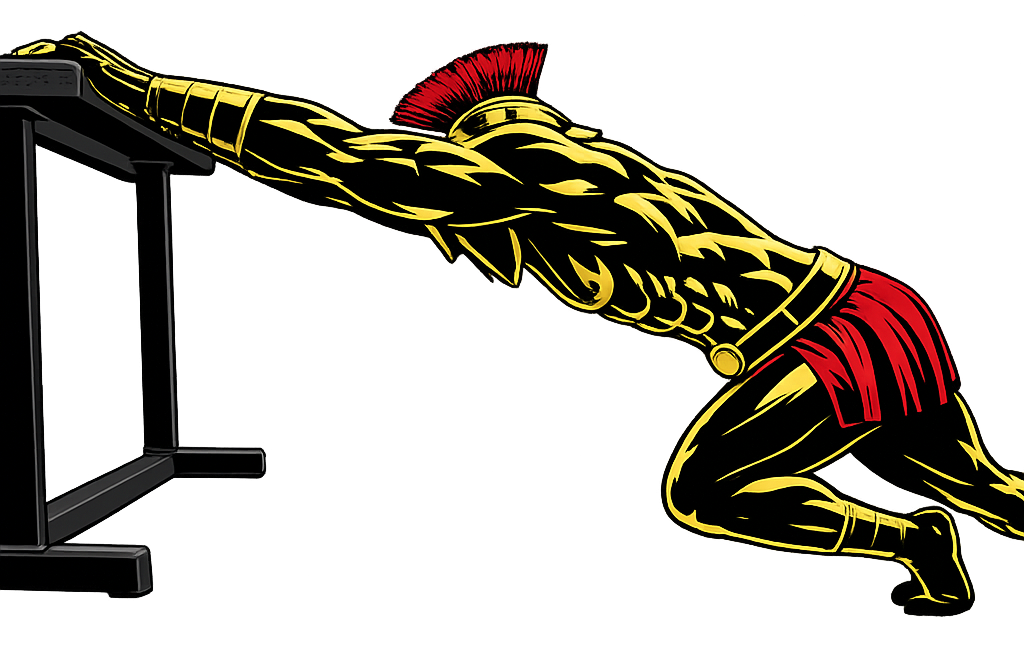
- Incline Push-Ups (Wall/Table) – 3 sets × 8–12 reps
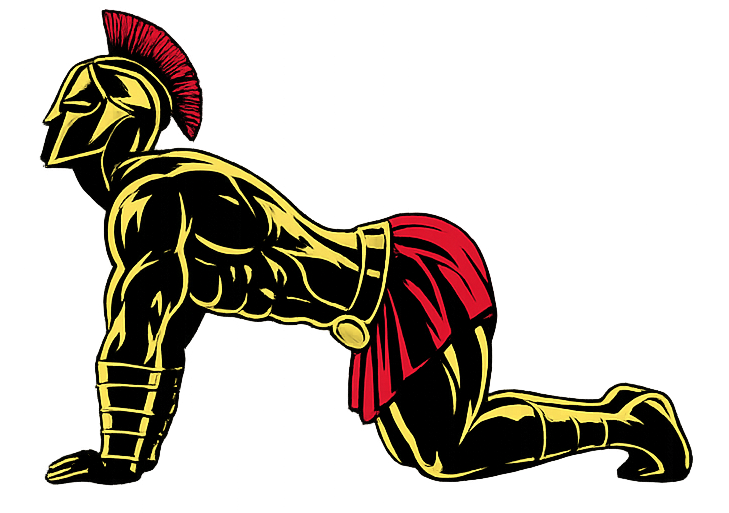
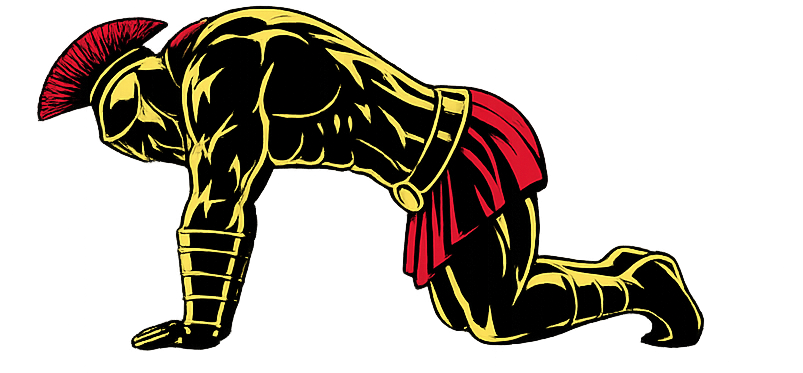
- Knee Push-Ups – 3 sets × 6–10 reps
- Resistance Band Rows or Backpack Rows – 3 sets × 10–12 reps
- Chair Dips – 3 sets × 8 reps
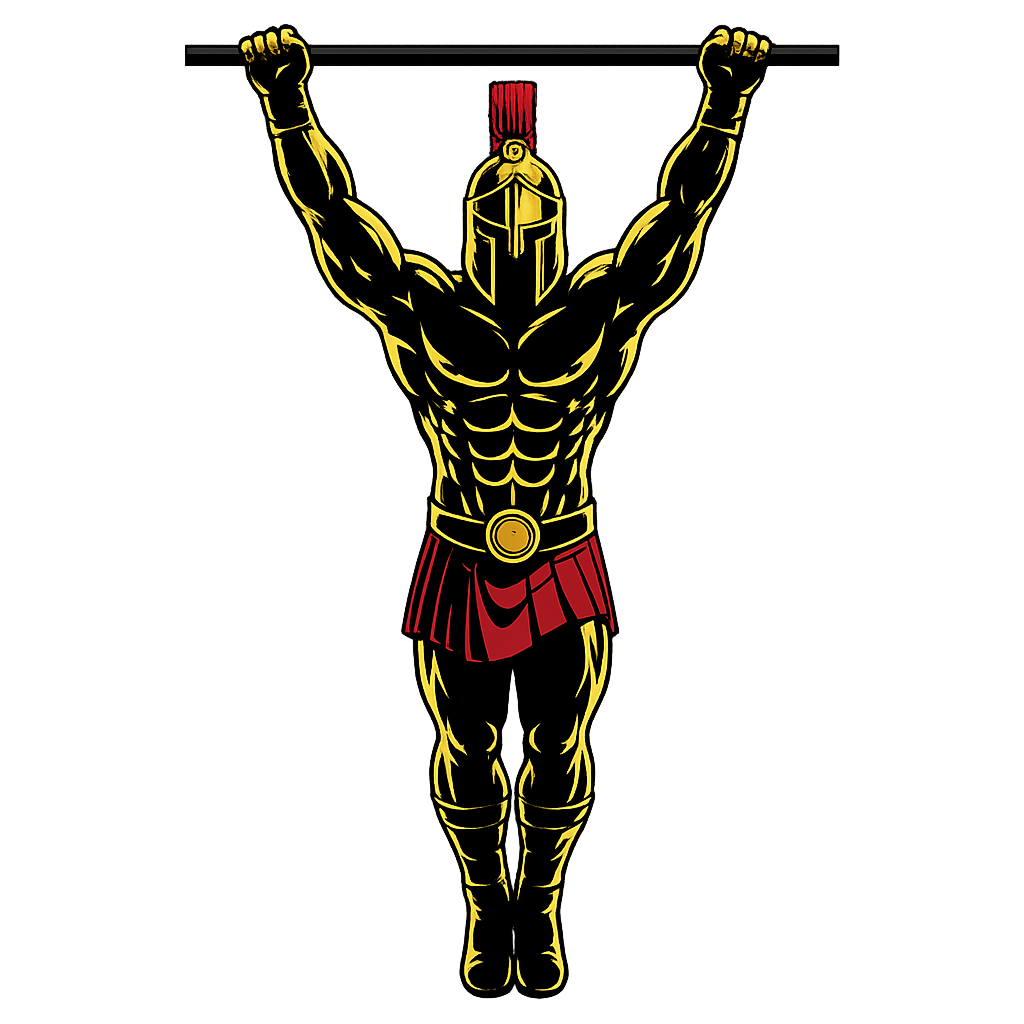
- Assisted Pull-Ups or Dead Hangs – 3 sets × max effort
Rest 60–90 seconds between sets.
Core Finisher
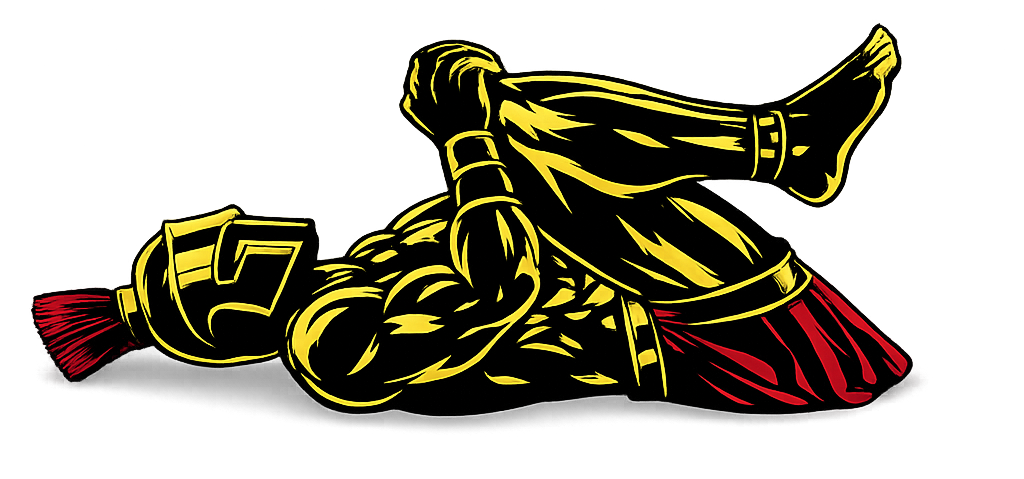
- Plank Hold – 3 sets × 20–30 seconds
- Bicycle Crunches – 3 sets × 15 reps
- Flutter Kicks – 2 sets × 20 reps
Wednesday – Lower Body + Running
Main Workout
- Bodyweight Squats– 3 sets × 15 reps
- Walking Lunges– 3 sets × 10 reps each leg
- Glute Bridges – 3 sets × 15 reps
- Step-Ups – 3 sets × 10 reps each leg
- Standing Calf Raises – 3 sets × 20 reps
Rest 60–90 seconds between sets.
Running Session
Choose one option based on your fitness level.
Beginner Option
- Walk 2 minutes
- Jog 1 minute
- Repeat for 15–20 minutes
Improving Option
- Jog continuously for 10–15 minutes
The goal is to gradually improve endurance without overtraining.
Friday – Full Body Conditioning
Conditioning Circuit
Complete 3 rounds:
- Push-Ups– 10 reps
- Bodyweight Squats – 15 reps
- Mountain Climbers – 20 seconds
- Walking Lunges– 10 reps each leg
- Plank Hold – 20 seconds
- Jog or March in Place – 1 minute
Rest 1–2 minutes between rounds.
Optional Finisher
- Light Jog or Fast Walk – 10–15 minutes
This workout improves stamina, conditioning, and overall work capacity.
Optional Saturday – Endurance & Mobility Day
This optional session helps improve recovery and aerobic endurance.
Endurance Work
Choose ONE:
- 20–30 minute brisk walk
- Easy jog
- Cycling
- Hiking
Mobility Routine
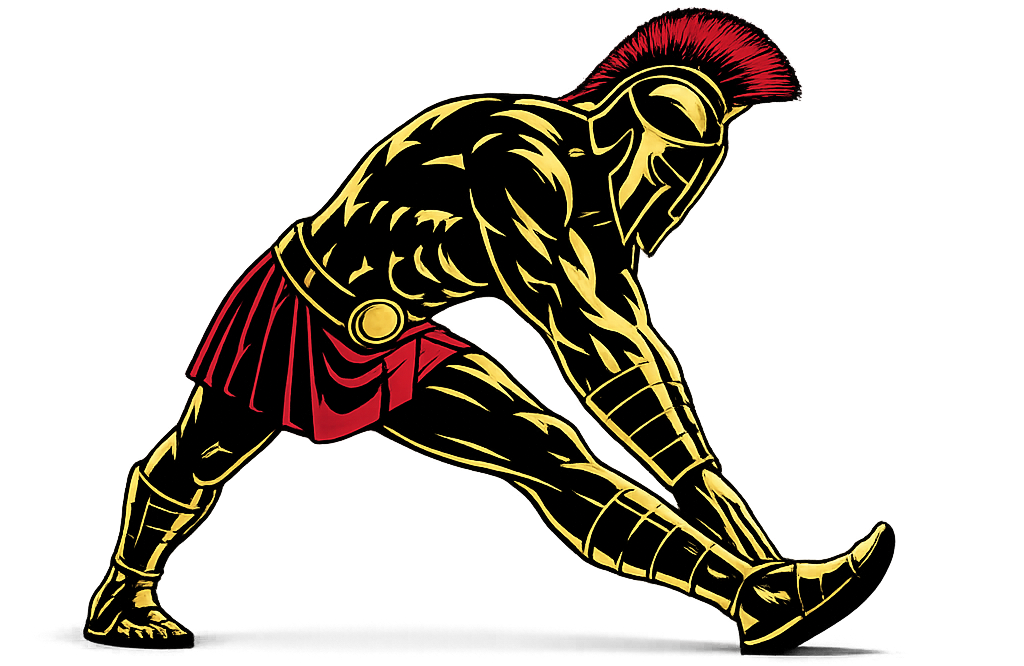
- Hamstring Stretch – 30 seconds
- Hip Flexor Stretch – 30 seconds
- Shoulder Stretch – 30 seconds
- Chest Stretch – 30 seconds
- Child’s Pose – 30 seconds
Keep intensity light and recovery-focused.
Post-Workout Stretch Routine
Perform each stretch for 30 seconds after workouts.
- Chest Stretch
- Shoulder Stretch
- Hamstring Stretch
- Quad Stretch
- Hip Flexor Stretch
- Calf Stretch
- Child’s Pose
Stretching improves flexibility, mobility, and recovery.
Beginner Army Fitness Training Tips
- Focus on consistency before intensity
- Prioritize proper exercise form
- Gradually increase reps and running time
- Stay hydrated throughout the day
- Get quality sleep for recovery
- Avoid comparing yourself to advanced athletes
- Track your weekly improvements
Little progress every week leads to major results over time.
Beginner Fitness Goals
These are excellent beginner targets after 8–12 weeks of training:
- Push-Ups: 20–30 reps
- Pull-Ups: 3–5 reps
- Plank Hold: 60+ seconds
- Jogging: 1–2 miles continuously
- Improved energy and stamina
Military standards vary globally, but building these fundamentals creates a strong tactical fitness base.
Final Thoughts
This Beginner Army Fitness Test Preparation Plan is designed to help new trainees safely build the strength, endurance, stamina, and confidence needed for military-style fitness tests.
By focusing on gradual progression, bodyweight strength, conditioning, mobility, and recovery, beginners can steadily transform their fitness while reducing injury risk.
Stay patient, stay disciplined, and keep training like a warrior.