Learn how to do a plank with perfect form, avoid common mistakes, and discover the best plank variations to build real core strength and endurance.
Planks are one of the most effective bodyweight exercises for developing a strong core, improving posture, and enhancing total-body stability. Whether you are training for military fitness tests, athletic performance, or general fitness, mastering the plank is essential.
What Is a Plank?
A plank is an isometric bodyweight exercise where you hold your body in a straight line while supporting yourself on your forearms and toes.
The plank is considered one of the best core exercises because it trains multiple muscle groups simultaneously while improving stability and endurance.
Planks are commonly used in:
- Military fitness training
- Strength and conditioning programs
- Athletic performance training
- General fitness routines
Unlike many abdominal exercises, planks strengthen the entire core without requiring repetitive movement.
Benefits of Planks
Planks are one of the most powerful exercises for developing core strength.
Benefits include:
• Strengthens the entire core
• Improves posture and spinal stability
• Enhances balance and coordination
• Builds shoulder endurance
• Reduces the risk of lower back pain
• Essential for athletic and military performance
Few exercises challenge the core as effectively as the plank.
Muscles Worked in Planks
Planks activate several major muscle groups simultaneously.
Primary Muscles
• Rectus Abdominis
• Transverse Abdominis
• Obliques
Secondary Muscles
• Shoulders (Deltoids)
• Glutes
• Lower Back Muscles
• Chest (Pectorals)
• Quadriceps
Because of this muscle activation, planks are one of the best exercises for developing total-body stability.
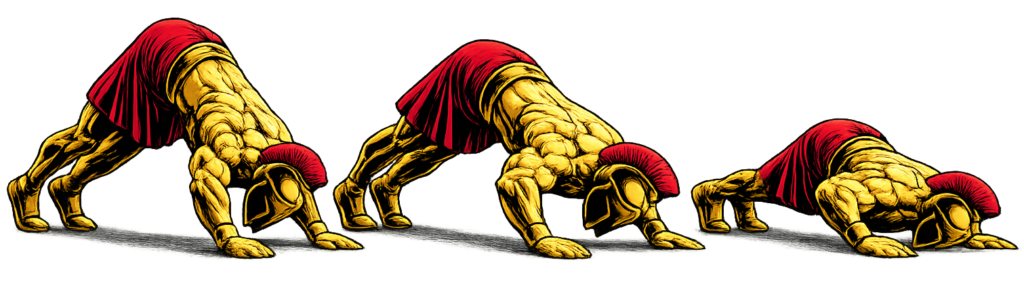
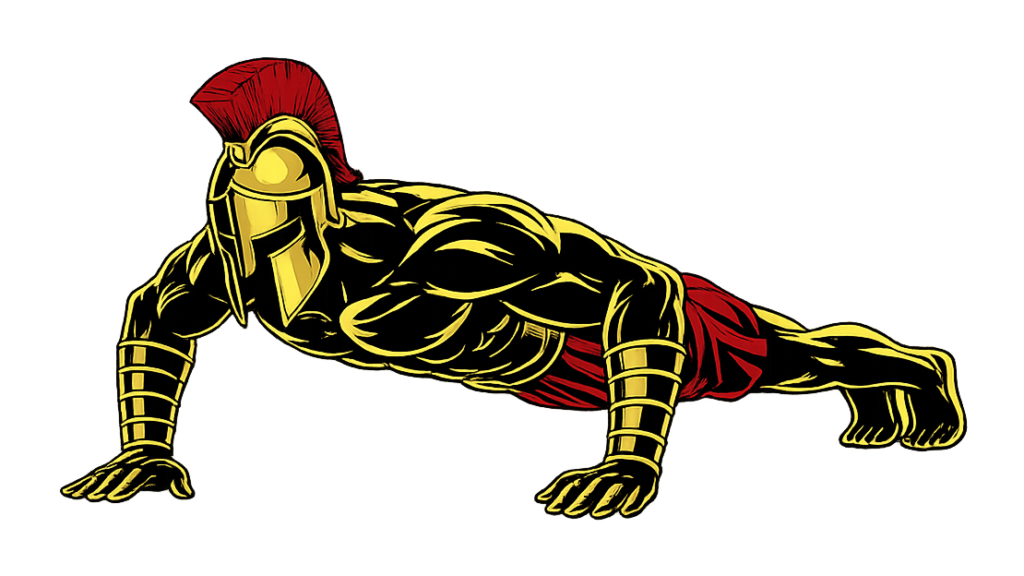
How to Do a Plank (Step-by-Step)
Step 1: Get Into Position
Begin by lying face down on the floor.
Place:
• Forearms on the ground
• Elbows directly under your shoulders
• Toes on the floor
Tip: Keep your forearms parallel and hands relaxed.
Step 2: Lift Your Body
Raise yourself off the ground.
Focus on:
• Supporting your weight on your forearms and toes
• Keeping your body straight
• Engaging your core
Avoid letting your hips sag or rise too high.
Step 3: Tighten Your Entire Body
Before holding the position:
• Tighten your abs
• Squeeze your glutes
• Engage your legs
This creates full-body tension and improves stability.

Step 4: Maintain Proper Alignment
At the holding position:
• Head remains neutral
• Spine stays straight
• Hips remain level
Your body should form a straight line from head to heels.
Step 5: Hold With Control
Maintain the plank for the desired duration.
Focus on:
• Steady breathing
• Maintaining tension
• Avoiding unnecessary movement
Quality is more important than time.
Plank Form Checklist
Use this quick checklist to ensure perfect plank form.
- Keep your body in a straight line
- Engage your core and glutes
- Keep elbows directly under the shoulders
- Maintain steady breathing
- Avoid excessive movement
Perfect form builds strength faster and prevents injury.
Common Plank Mistakes
Sagging Hips
Problem: Places excessive stress on the lower back.
Fix: Tighten your core and glutes to maintain alignment.
Raising the Hips Too High
Problem: Reduces core activation.
Fix: Keep your body in a straight line.
Holding Your Breath
Problem: Reduces endurance and stability.
Fix: Breathe steadily throughout the exercise.
Looking Up
Problem: Creates neck strain.
Fix: Keep your head neutral and look toward the floor.
Focusing Only on Time
Problem: Leads to poor form.
Fix: Prioritize quality over duration.
Perfect planks always beat long, sloppy holds.
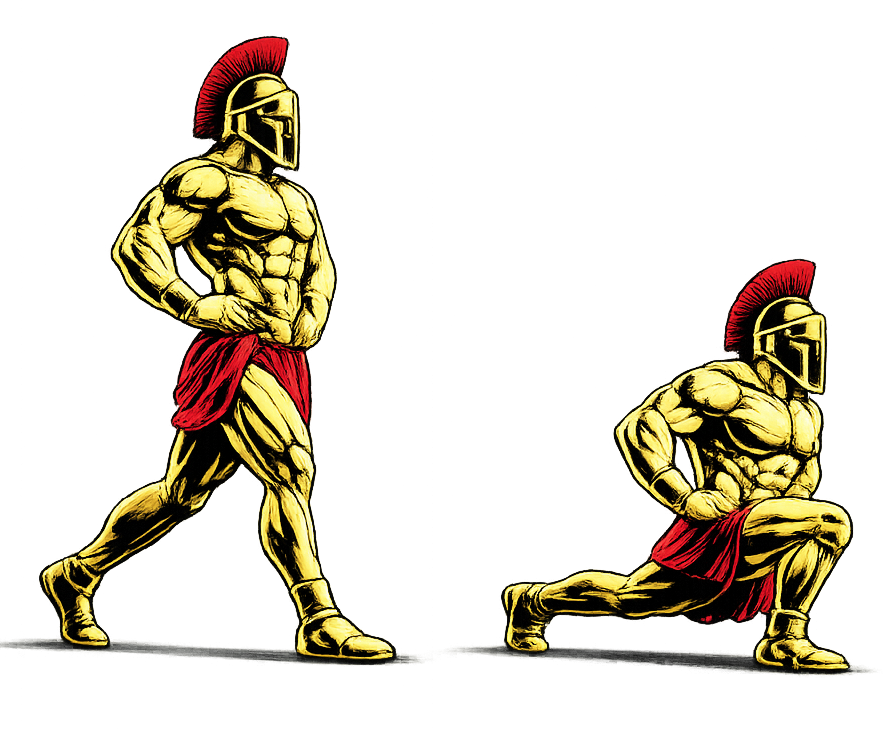
Plank Variations
Once you master the basic plank, different variations can help build strength and increase difficulty.
Knee Planks
A beginner-friendly variation.
How to Do Knee Planks
• Keep your knees on the ground
• Maintain a straight line from shoulders to knees
• Hold with control
This variation is ideal for beginners.
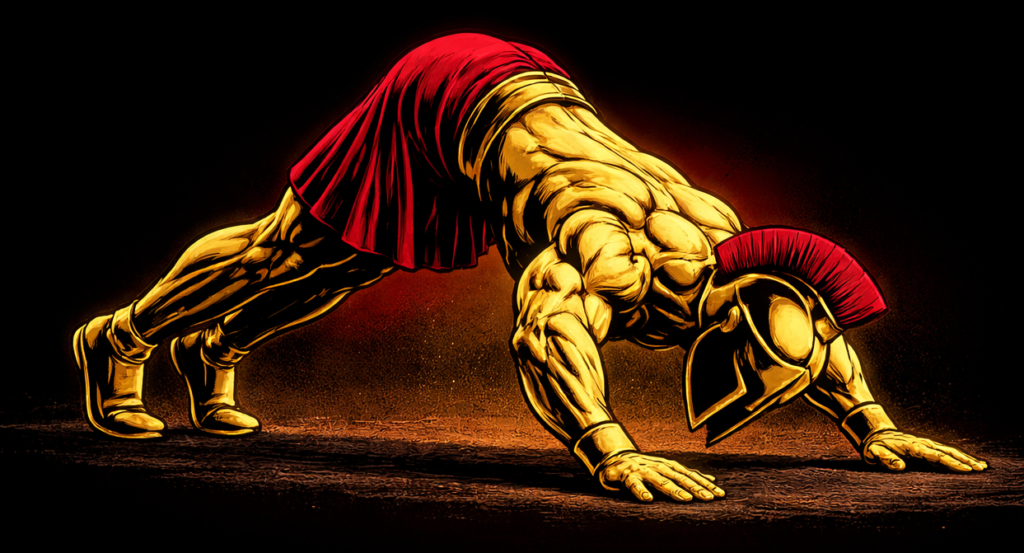
High Planks
Places more emphasis on the shoulders and chest.
How to Do High Planks
• Support yourself on your hands instead of your forearms
• Keep your body straight
• Maintain core tension
High planks improve upper-body stability.
Side Planks
Targets the obliques and lateral core muscles.
How to Do Side Planks
• Support your body on one forearm
• Stack your feet or place one foot in front of the other
• Hold the position with control
Side planks improve rotational stability.
Plank Shoulder Taps
An advanced variation that challenges stability.
How to Do Plank Shoulder Taps
• Begin in a high plank position
• Touch one shoulder with the opposite hand
• Alternate sides while minimizing hip movement
This variation develops balance and coordination.
Final Thoughts
The plank is one of the most powerful bodyweight exercises you can master.
It builds:
• Core strength
• Shoulder endurance
• Postural stability
• Balance and coordination
• Functional athletic performance
Progress may feel slow at first because planks demand full-body tension and endurance. However, with consistent training and proper form, your stability and core strength will steadily improve. Learn more about Core Workouts here.
One perfect hold is always better than several sloppy seconds.
Focus on quality, tension, and proper alignment.
A warrior stands strongest when his foundation is unbreakable.
Plank FAQ
Q1: How long should a beginner hold a plank?
Most beginners can start with 20–30 seconds and gradually increase the duration as their strength improves.
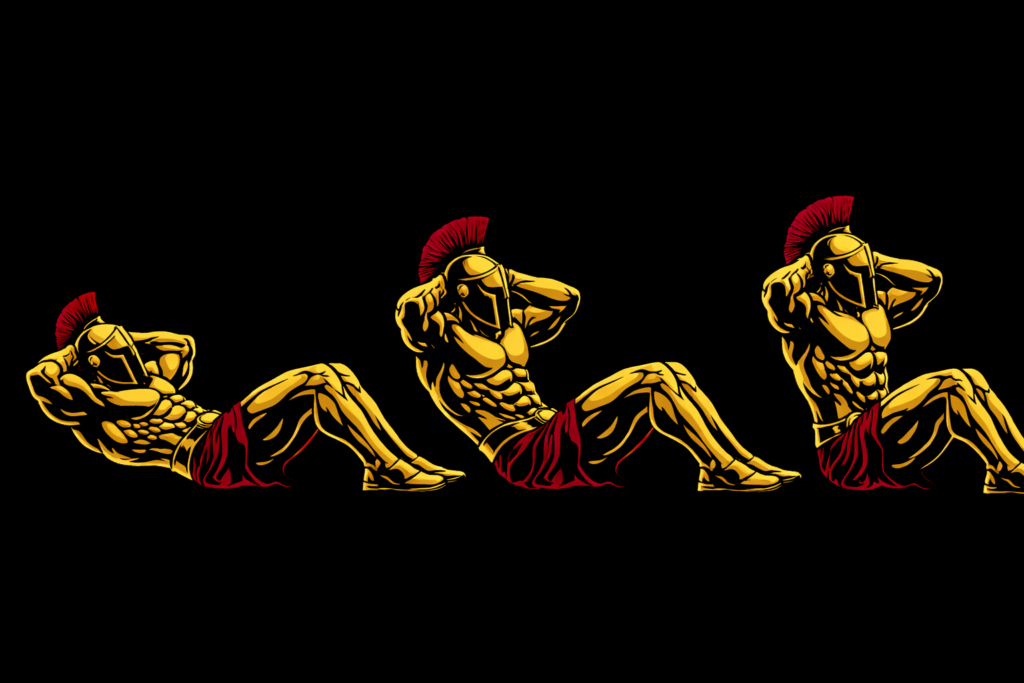
Q2: Are planks better than sit-ups?
Planks and sit-ups serve different purposes. Planks emphasize stability and total-core activation, while sit-ups focus more on abdominal endurance.
Q3: How often should I do planks?
You can train planks 3–6 times per week depending on your recovery and overall training program.