
Calf raises are one of the simplest and most effective exercises for building stronger, more defined lower legs. Whether you train at home, at the gym, or for military and athletic performance, mastering proper calf raise form improves ankle strength, balance, endurance, and overall lower-body power.
This guide explains how to do calf raises correctly, the muscles worked, the benefits, common mistakes, and tips to get the best results.
What Are Calf Raises?
Calf raises are a lower-body exercise where you lift your heels off the ground by pushing through the balls of your feet. This movement targets the calf muscles and strengthens the ankle joint, which is essential for running, jumping, marching, and everyday movement.
They can be performed using bodyweight, added weight, or on an elevated surface for an increased range of motion.
Benefits of Calf Raises
- Builds stronger and more defined calves
- Improves ankle stability and injury resistance
- Enhances running, sprinting, and jumping performance
- Supports endurance for long marches or standing periods
- Improves balance and coordination
- Strengthens the lower legs for overall athletic performance
Muscles Worked
Primary Muscles
- Gastrocnemius (main visible calf muscle)
- Soleus (deep calf muscle responsible for endurance)
Secondary Muscles
- Tibialis posterior (ankle stability)
- Foot intrinsic muscles
- Hamstrings and glutes (stabilization)
- Core (balance support)
How to Do Calf Raises Properly (Step-by-Step)
1. Start Position
- Stand upright with feet hip-width apart.
- Keep your weight evenly distributed across the balls of your feet.
- Engage your core and keep your chest up.
- Hold onto a wall or support if needed for balance.
2. Lift Your Heels
- Slowly push through the balls of your feet.
- Raise your heels as high as possible.
- Keep your legs straight but not locked.
- Pause briefly at the top.
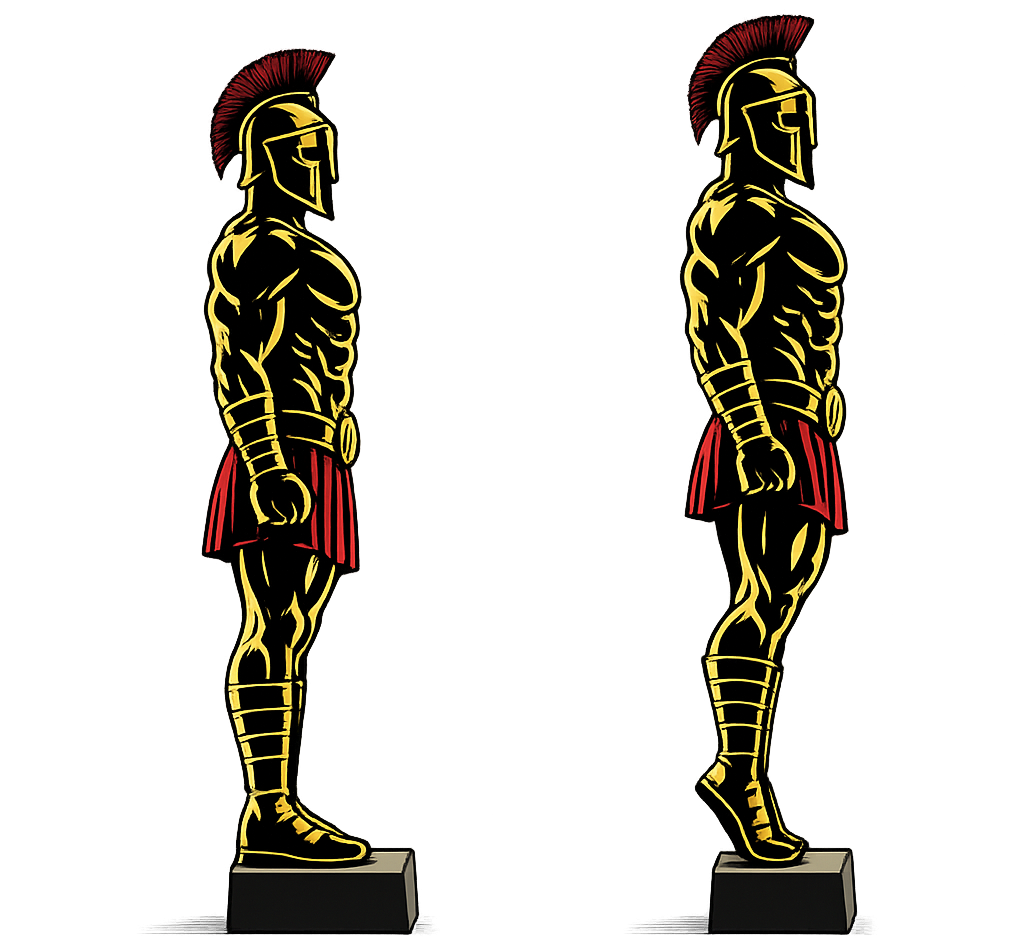
3. Lower With Control
- Slowly lower your heels back to the ground.
- Do not drop or bounce.
- Maintain control throughout the movement.
Beginner Tip: Perform 3 sets of 12–20 controlled repetitions.
Proper Form Checklist
- Feet hip-width apart and evenly balanced
- Core engaged and chest upright
- Push through the balls of your feet
- Heels lifted as high as possible each rep
- Slow, controlled lowering (no bouncing)
- Ankles stay neutral (no rolling inward or outward)
- Full range of motion from stretch to peak contraction
Common Calf Raises Mistakes (And How to Fix Them)
❌ Bouncing at the bottom
Fix: Lower slowly and pause before the next rep.
❌ Not lifting high enough
Fix: Focus on reaching maximum heel height every repetition.
❌ Leaning forward or backward
Fix: Keep your torso upright and core engaged.
❌ Rushing the movement
Fix: Use a slow tempo: 1 second up, 2 seconds down.
❌ Rolling ankles outward or inward
Fix: Keep your weight centered on the big toe and second toe.
Progressions and Variations
- Single-Leg Calf Raises – Increase difficulty and balance.
- Elevated Calf Raises – Stand on a step for a deeper stretch.
- Weighted Calf Raises – Hold a backpack, dumbbell, or barbell.
- Seated Calf Raises – Targets the soleus more effectively.
Final Thoughts
Calf raises may look simple, but when performed with a full range of motion and control, they are among the most powerful exercises for building lower-leg strength and endurance. Strong calves improve athletic performance, protect your ankles, and support long-distance running, marching, and daily movement. Focus on quality over speed, progress gradually, and stay consistent—strong foundations create a stronger warrior. Learn more about Leg Workouts here.
FAQ
1. Is it better to do calf raises on one leg or two?
Single-leg calf raises increase intensity and help fix strength imbalances.
2. Why don’t I feel calf raises in my calves?
Slow the movement, pause at the top, and ensure you’re lifting through the balls of your feet.
3. Is a full range of motion important?
Yes, lowering into a deep stretch and lifting high maximizes muscle activation and growth.